Dashain 2026: What Trekkers Need to Know During Nepal's Biggest Festival
10 Oct 2026
Trekking in Nepal during Dashain 2026? Explore essential travel tips, festival experiences, and Himalayan adventures.

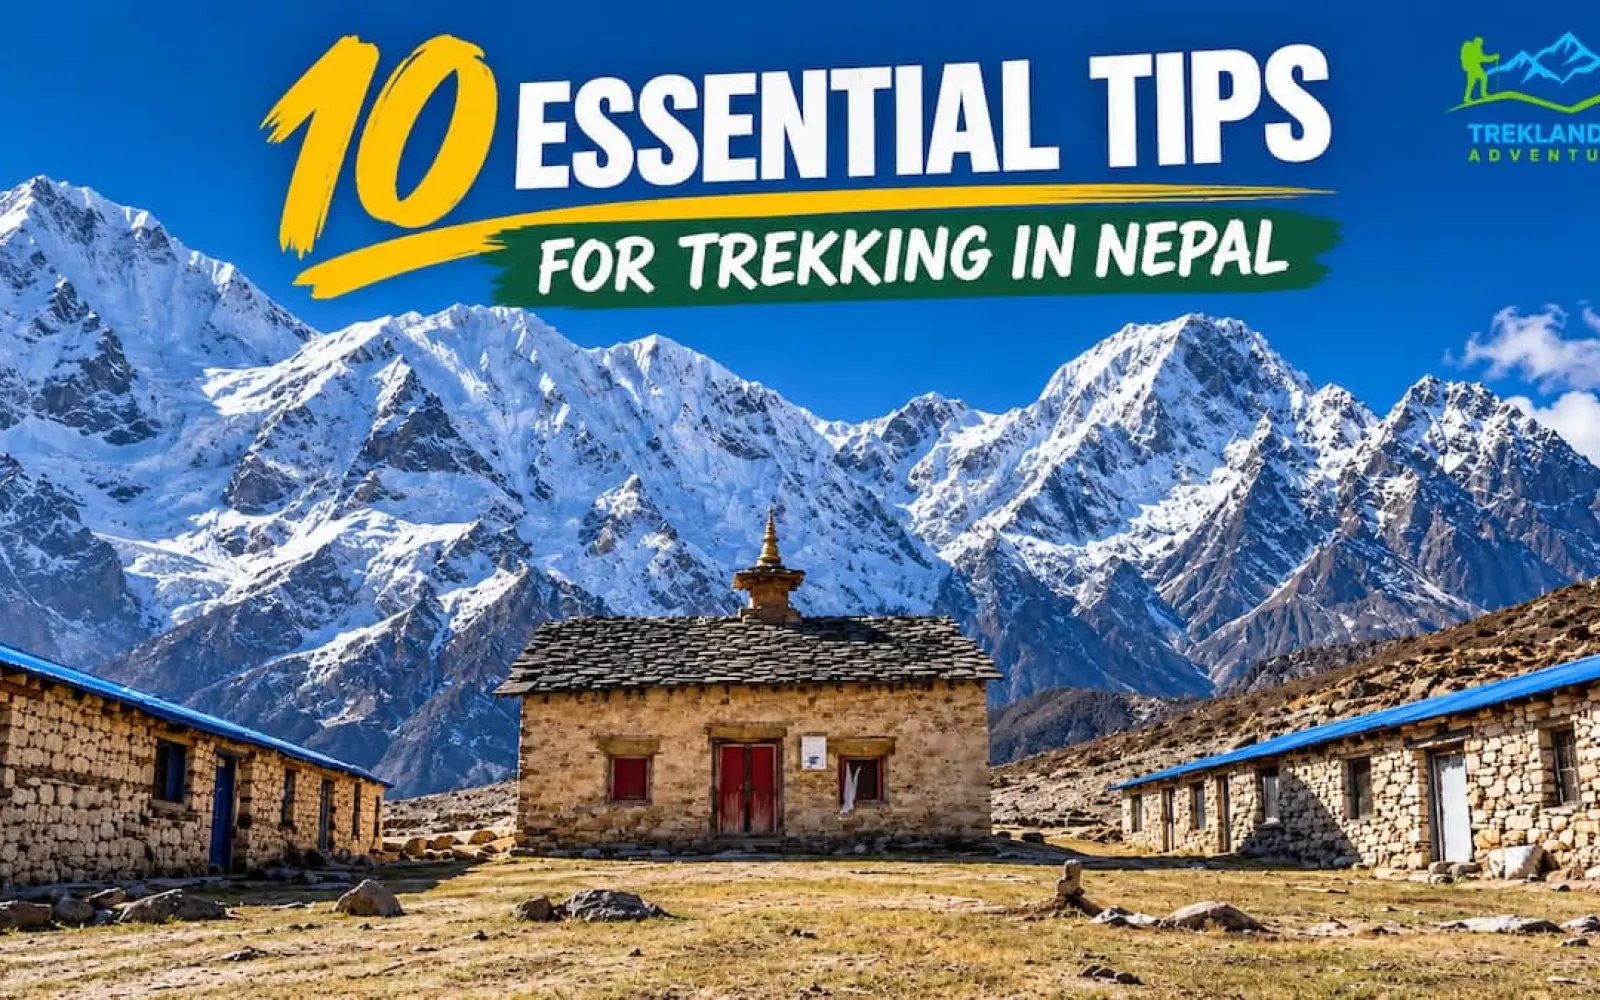
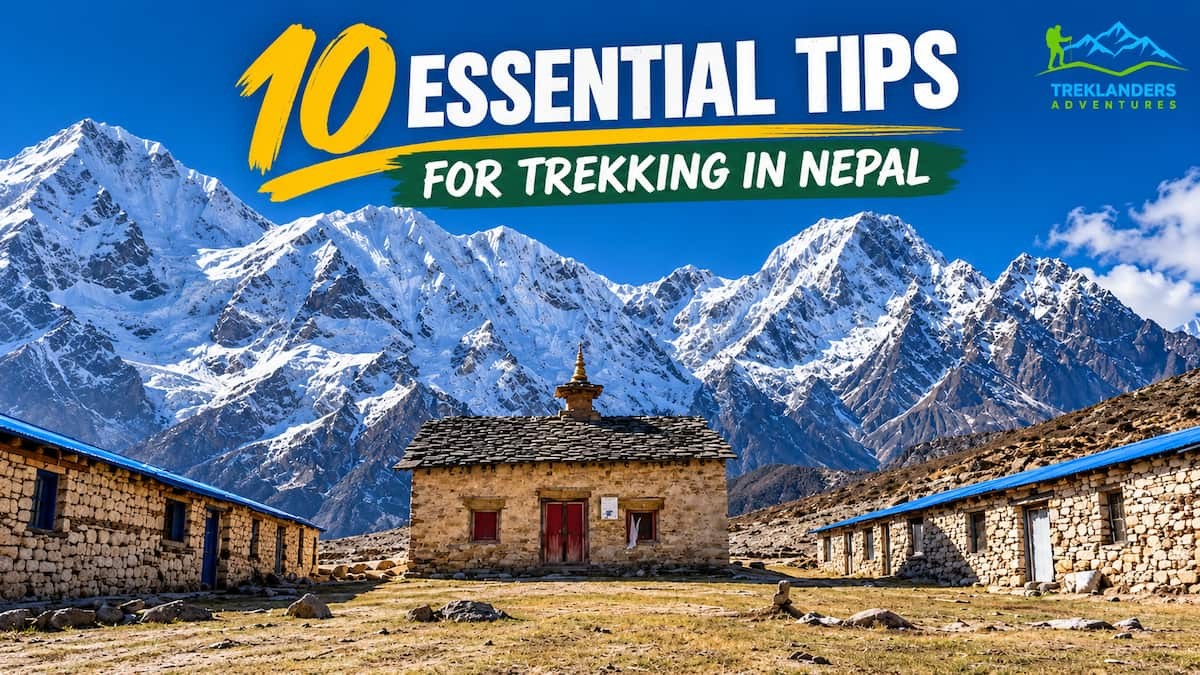
Trekking in Nepal rewards preparation more than raw fitness. You can train for months and still lose three days to a grounded flight, a poor season choice, or boots you never broke in. You can also arrive with modest fitness, follow a sound plan, and reach Everest Base Camp without one miserable day.
These ten tips decide which trip you get. Each one comes from how the trails work on the ground, from the first morning in Lukla to the last flight back to Kathmandu. Near the end, you will walk through a complete 12-day Everest itinerary, so you can see the advice at work across real days and real altitudes.
The guidance fits most popular routes in the country. Treklanders Adventures runs trekking in Nepal from its office in Thamel, Kathmandu, and the same rules apply in the Everest region, the Annapurna region, the Langtang region, the Manaslu region and the Mustang region. Read the tips in order if you are planning your first trek. Jump to the one you need if you already have a route in mind.
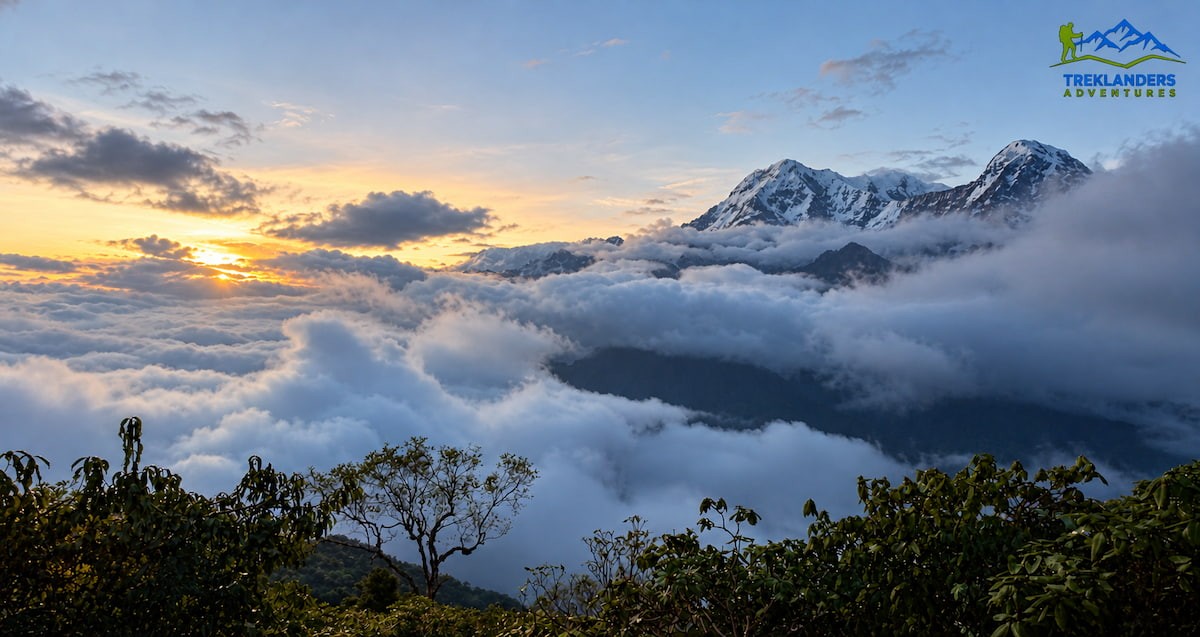
Season controls your views, your temperatures and the crowd in every lodge. Nepal has two dependable trekking windows, and each one has its own character.
Spring runs from March to May. Rhododendron forests bloom red, pink and white on the lower trails, daytime temperatures stay comfortable, and nights above 4,000 meters stay cold. Spring is also the Everest climbing season, so you will often pass expedition teams heading to or from base camp.
Autumn runs from September to November and draws the biggest numbers. The monsoon rinses dust out of the air, which gives you clear mountain views from Namche Bazaar onward. Autumn also overlaps with Dashain and Tihar, the two largest festivals in Nepal, so you will see celebrations in the villages. Lodges and flights fill early in this window. Read how Dashain affects trekking schedules before you fix your dates, because transport and some services slow down during the holiday.
Winter, from December to February, brings quiet trails and many clear, sunny days. Nights fall well below freezing in Namche and get much colder in Lobuche and Gorakshep. Some lodges above Dingboche cut services or close in the coldest weeks, so ask your guide what is open before you commit. Lower routes make better winter choices. The Ghorepani Poon Hill trek and the Helambu trek both stay at moderate altitude and see far less snow than the high Khumbu.
Monsoon, from June to August, brings heavy rain, leeches in the lower forest sections and cloud that hides the mountains. The trails stay open and the lodges keep running, but few trekkers pick this season.
Season and route work as a pair. A short, low trek such as Mardi Himal handles shoulder months better than a high pass crossing. A route that climbs above 5,000 meters needs the stable weather of spring or autumn.
Check route status before you book, too. Flash floods in the Rasuwa and Gorkha districts during 2026 damaged roads and bridges on parts of the Langtang and Manaslu approaches. Conditions change quickly after monsoon damage, so read the Budhi Gandaki flood update and ask your operator for the current state of any route you like. Regions such as Everest and Annapurna have stayed open, and a good operator will move you to an open route without fuss.
The wrong route causes more failed treks than bad weather does. Start with the number of days you have, then check the maximum altitude, then be honest about your fitness.
If you have four to seven days, you have good options. The 4-Day Ghorepani Poon Hill trek from Pokhara delivers a sunrise over the Annapurna and Dhaulagiri ranges with modest daily climbs. The 5-Day Mardi Himal trek follows a ridge to a high viewpoint. The 7-Day Annapurna Base Camp trek from Pokhara and the 7-Day Langtang Valley trek pack a full mountain experience into a week. Anyone based in the capital with only a long weekend can try the 4-Day Trekking Adventure near Kathmandu or the Chisapani-Nagarkot to Dhulikhel hiking route.
With nine to twelve days, you can reach Everest Base Camp or comfortably walk a longer Annapurna route. The 12-Day Everest Base Camp trek includes two acclimatization days. The 11 Day Annapurna Base Camp trek and the 9 Day Mardi Himal trek give you slower pacing and more rest.
With two weeks or more, add margin for altitude. The 14 Day Everest Base Camp trek gives your body more time than the 12-day version. Strong, experienced walkers can take on the Everest Base Camp via Cho La Pass or the Annapurna Circuit, both of which cross passes above 5,000 meters.
Remote routes need a different mindset. The Upper Mustang trek, the Manaslu Circuit and the Kanchenjunga trek have fewer lodges, longer walking days and restricted-area rules. Take one of them as your second or third trek, not your first.
Time off the trail also counts. If you cannot spare the days to walk both ways, the Everest Base Camp trek with a helicopter return cuts the descent and shortens the whole trip to nine days.
One rule helps with every choice. Pick the route that leaves you a little under-challenged on paper.
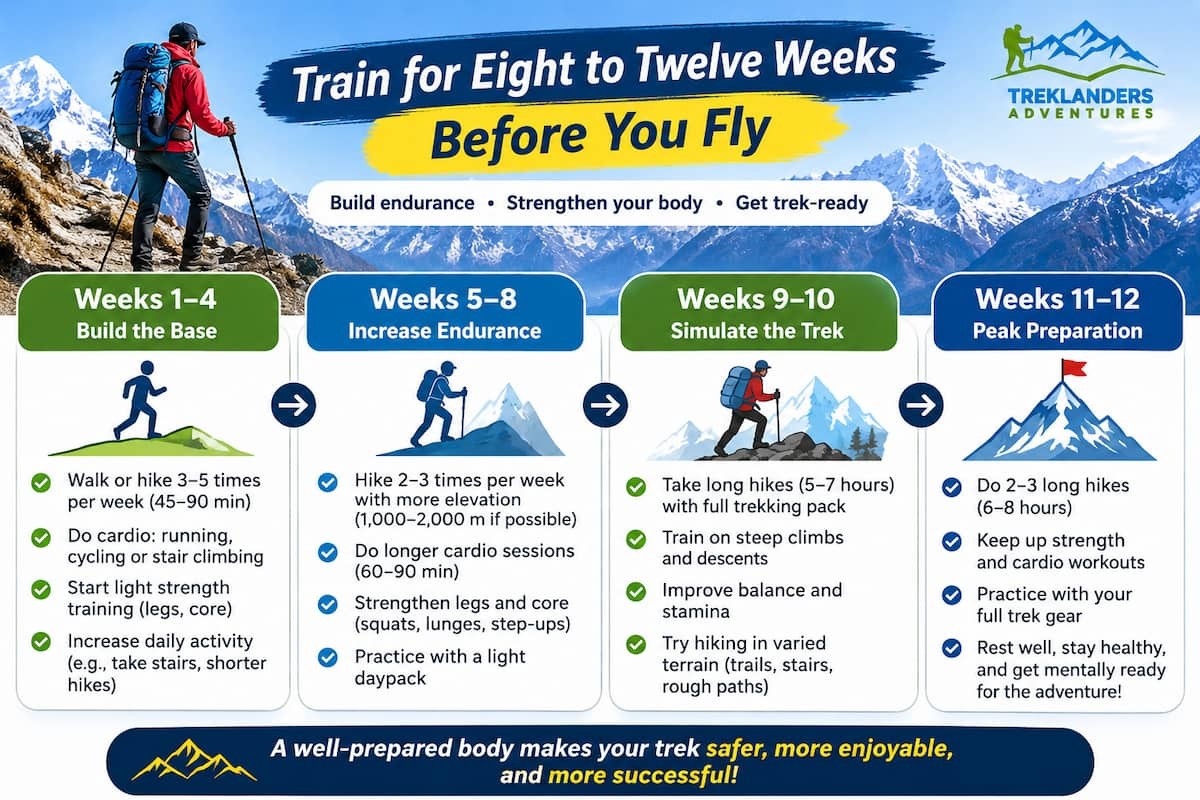
Fitness will not stop altitude sickness, but it makes every other problem smaller. Start training at least eight to twelve weeks before departure, and start earlier if you have a desk job or have not hiked in years.
Build your cardio first. Aim for 30 to 45 minutes of hill walking, stair climbing or cycling on four or five days each week. You are training your heart and lungs to work on less oxygen, so aim for steady effort rather than sprints.
Add leg strength two or three times a week. Squats, lunges, step-ups and calf raises prepare your legs for the stone staircases that run through every Sherpa village. Add core work, such as planks and side planks, for 15 minutes three or four times a week. A steady core keeps your posture upright under a daypack on the sixth hour of the day.
In the last month, do four to six practice hikes with the daypack you plan to carry, loaded with eight to twelve kilograms. Choose trails with real climbs and descents. Downhill training matters more than most people expect. Day nine of the 12-day Everest itinerary, for example, drops you from Kala Patthar at 5,643 meters to Pangboche at 3,900 meters in a single day. Weak quadriceps and untrained knees turn that descent into the hardest part of the trek.
If you land in Kathmandu a few days early, use the time well. The Nagarjun Jamacho day hike and the Nagarkot day hike give you forest climbing and views without a long commitment. People who want a real warm-up before a bigger trek can walk the 6 Day Pikey Peak trek, which tops out well below Everest altitudes and still shows you the Himalayan skyline.
Break in your boots during training. Wear the exact socks you will wear on the trail, and fix hot spots with tape before they become blisters. Walking poles reduce knee load on descents, so train with them if you plan to carry a pair.
Last, see your doctor. Heart, lung and joint problems all behave differently at altitude, and a medical check takes an afternoon. Most healthy people between 12 and 65 who prepare for a few months complete the standard routes.
Altitude sickness is unpredictable. It affects fit trekkers as often as it affects beginners, and age or athletic record tells you very little about who will struggle. The only reliable defense is a slow, planned ascent.
The 12-day Everest itinerary builds this in with two rest days, one at Namche Bazaar at 3,440 meters and one at Dingboche at 4,410 meters. Use each for a short hike to a higher point, then return to sleep at the lower altitude. At Namche, the walk to the Everest View Hotel gives you the first long look at Everest, Lhotse and Ama Dablam. At Dingboche, the climb to the Nakarjung ridge shows you Ama Dablam, Island Peak and Makalu. Both hikes raise your body's demand for oxygen and then give it a night to adapt.
Medical guidelines commonly advise limiting your gain in sleeping altitude to about 500 meters per day once you pass 3,000 meters, with a rest day every three to four days. Any trek that breaks that pattern deserves a second look. If you want more margin, choose the 14 Day Everest Base Camp trek over a shorter version, or pick the Everest Panorama trek, which keeps you lower while still showing you Everest.
Know the early symptoms. A headache, nausea, dizziness, unusual fatigue and poor sleep are the common signs of mild altitude sickness. Tell your guide the moment you feel any of them. Do not wait for dinner, and do not decide on your own that it will pass. A guide who knows early can slow the pace, add a rest night or move you down a few hundred meters.
Know the danger signs as well. Confusion, loss of balance, breathlessness while resting, and a wet, persistent cough mean you must descend immediately. Never climb higher with worsening symptoms. Descent is the treatment, and no summit or base camp photo justifies skipping it. One trekker on the 12-day route felt dizzy between Lobuche and Everest Base Camp. The guide watched closely, slowed the pace and kept the group moving safely. That outcome depends on telling someone early.
Walk slowly. At 4,500 meters, a pace that feels almost too gentle is the correct pace. Drink water steadily through the day, aim for several liters, and eat even when your appetite drops. Skip alcohol on the trail, because it dehydrates you and disturbs sleep. Take acetazolamide, often sold as Diamox, only if your doctor recommends it, and discuss the dose before you leave home.
Your guide will check your pace, hydration and condition every day. Treklanders guides are trained in altitude health risks and emergency first aid and carry a first aid kit for the group.
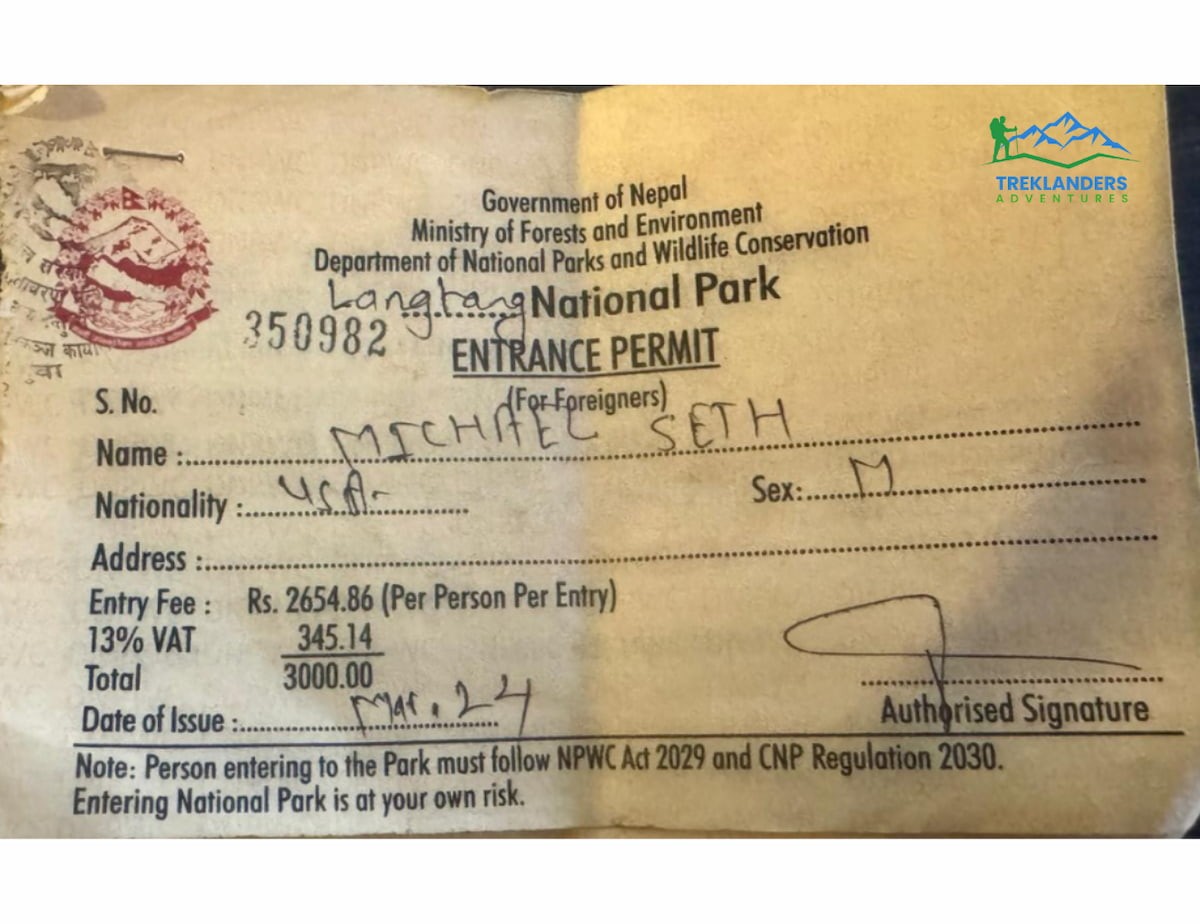
Every trek in Nepal needs paperwork, and the paperwork changes by region. Mistakes here waste days and sometimes block entry to a route altogether.
The Everest region requires two permits. The first is the Sagarmatha National Park entry permit. The second is the Khumbu Pasang Lhamu Rural Municipality permit. Both are checked at Monjo, on the second day of the trek. The TIMS card stopped being mandatory for the Everest region in April 2023, when the local municipality permit took its place.
Annapurna routes use the Annapurna Conservation Area Permit and TIMS. Langtang routes use the Langtang National Park permit along with TIMS. These rules shift from time to time, and districts add their own local fees, so confirm the current list with your operator before you pack.
Restricted areas work differently. Upper Mustang, Manaslu, Tsum Valley, Nar Phu, Upper Dolpo and Kanchenjunga need special permits, and trekkers must travel with a licensed guide. Nepal announced a mandatory guide rule in 2023, and enforcement has made independent trekking far less practical than it used to be. If you want one of these routes, apply through an operator early, since processing takes time and group size can affect eligibility.
For the paperwork itself, you need a valid passport, a few passport-size photos and your exact itinerary. Carry the original passport on the trail, because checkposts ask for it. Keep a photocopy and a phone photo in separate bags.
Treklanders Adventures arranges every permit before departure. On the 12-day Everest trek, the guide handles the checkpoint stops, so you only show your passport. If you want a custom itinerary, send a request through the Plan My Trip page and the team will list the permits that route needs.
Permits also protect you. Checkposts record where trekkers are, which helps rescue teams when something goes wrong.
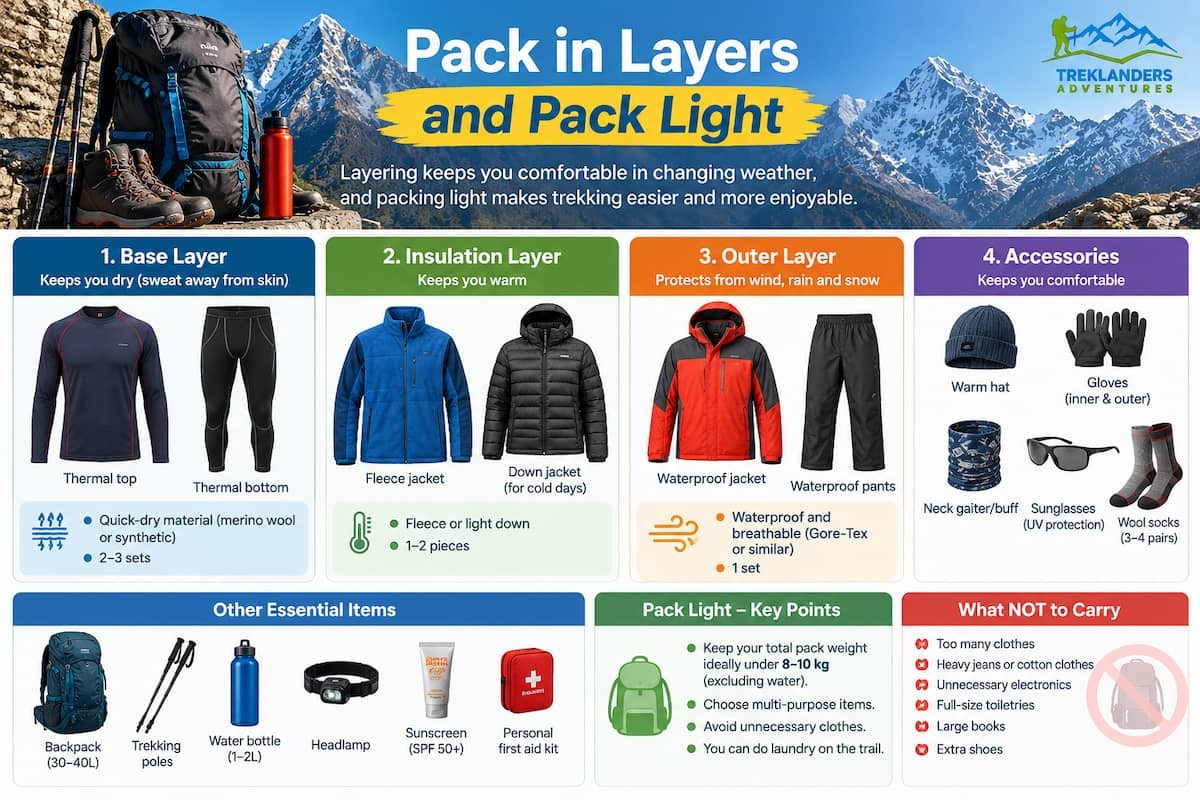
Weather in the Khumbu can swing from warm sun to sub-zero wind within an hour. Layers solve that problem, and heavy single items do not. You also face a hard weight limit on the flight to Lukla, which forces discipline.
Build your system in three parts. The base layer sits against your skin and must wick moisture, so choose two or three synthetic or merino shirts, one or two thermal tops and bottoms, and quick-drying underwear. The mid layer traps heat. A fleece jacket and a light down or synthetic jacket cover most days. The outer layer blocks wind and rain, so bring a waterproof shell jacket and pants.
Add a heavy down jacket for the days above Lobuche. Nights there fall well below freezing, and early starts for Everest Base Camp and Kala Patthar feel brutally cold without it. Bring a warm hat, a lighter pair of gloves and a heavy pair of insulated gloves, a neck gaiter and a sun hat. Sunglasses with category 3 or 4 lenses protect your eyes from glare off snow at altitude.
Boots matter more than any other item. Choose waterproof trekking boots with ankle support, and break them in on several long hikes before you fly. Carry lightweight sandals for the lodge and two or three pairs of wool or synthetic trekking socks, plus one thick pair for the cold summit days.
Sleeping bags matter on teahouse routes because blankets only go so far. Bring a bag rated between minus 10 and minus 20 degrees Celsius, or rent one in Thamel. Many shops in Thamel rent down jackets and sleeping bags, which saves space in your luggage.
Pack a 30 to 35 liter daypack for the items you need during the day, and a 60 to 70 liter duffel for everything else. Your porter carries the duffel. Flights to Lukla allow about 10 kilograms of checked luggage and 5 kilograms of hand baggage, so weigh your bags before you leave Kathmandu. Leave jewelry, large amounts of cash and extra electronics at your hotel.
For health, carry blister tape, pain relievers, water purification tablets, a personal first aid kit and any prescription medication. Pack sunscreen with a high SPF, lip balm with SPF and a moisturizer, since the dry air cracks skin quickly.
The full gear list appears on the 12-Day Everest Base Camp trek page, and the same system works on most routes in Annapurna and Langtang with small adjustments. Keep electronics in an inner pocket at night, because cold drains batteries fast, and carry a power bank of 10,000 to 20,000 mAh.
Standard travel insurance often excludes trekking above a set altitude. Read the policy before you buy and again before you fly.
Your policy should cover high-altitude trekking up to at least 6,000 meters. It should include emergency helicopter evacuation, medical treatment and hospital care in Nepal, trip cancellation, interruption and delay, and lost or delayed baggage. If you plan to climb, read the fine print on mountaineering. Island Peak stands at 6,189 meters, Mera Peak at 6,476 meters and Lobuche East at 6,119 meters, and each needs a policy that names climbing explicitly. You can compare options on the peak climbing page, including the Island Peak trek and climb, the Mera Peak trek and climb and the Everest Base Camp trek with Lobuche East climbing.
Buy the policy in your home country. Local policies sold in Nepal may not cover international evacuation or the highest regions of the trek. Check that your policy is active on your departure date and that it covers the entire trip, including the Kathmandu days on either end.
Carry the policy number and the 24-hour emergency line on paper and on your phone. Give a copy to your guide before the trek starts. Most reputable agencies, including Treklanders Adventures, ask to see proof of insurance before departure, because it lets them organize rescue quickly. Without insurance, you pay for rescue and hospital care yourself.
Helicopter use also appears in ordinary plans. If flights to Lukla stop for several days, a helicopter transfer can save your international connection. Treklanders offers an Everest Base Camp trek with a helicopter return from Gorakshep for people who want to skip the long walk down. Ask your insurer in writing how each case is handled.
Flights decide the start and end of most Himalayan treks, and mountain weather decides the flights. The Kathmandu to Lukla flight lasts about 35 minutes and ranks among the most scenic short flights anywhere. It also gets delayed or canceled on short notice, sometimes for several days in a row.
Lukla's Tenzing-Hillary Airport sits at 2,860 meters, and pilots land only in good visibility. During the busiest months, spring and autumn, air traffic rules often move departures to Manthali Airport in Ramechhap. That airport lies roughly four hours by road from Kathmandu, so you may need to leave in the middle of the night to make an early flight. In some cases the group sleeps in Manthali the night before.
Plan your return the same way. Do not book an international flight home for the evening of your scheduled Lukla departure. Add at least one buffer day, and two if your flight home cannot be changed. Trekkers who skip this step often watch a delayed Lukla flight cost them a nonrefundable ticket.
Use the buffer well. Kathmandu has plenty to fill a spare day. The Kathmandu full day sightseeing tour covers the main heritage sites, and the Patan and Bhaktapur sightseeing tour brings you through the old Newar cities. If you want to see the high peaks from the air without a long trek, the Everest mountain flight from Kathmandu takes about an hour.
Weigh the alternatives to the Lukla flight, too. Trekkers who want a quieter approach can start at Jiri and walk the classic route, which adds several days. The Everest Base Camp trek from Jiri follows the path early expeditions used before the Lukla airstrip existed. A helicopter transfer between Lukla and Kathmandu is also possible when conditions block fixed-wing flights, although it adds an extra charge, and availability tightens in peak season.
Pack with the domestic baggage limit in mind, and carry essentials such as medication, a warm layer and your documents in your hand baggage in case your duffel travels on a later flight. Keep your passport, insurance papers and permits in one waterproof pouch that never leaves your daypack.
Flexibility is the real skill here. Trekkers who treat a delay as part of the trip enjoy the whole route. Trekkers who treat it as a crisis spend those days angry.
Teahouse logistics shape your energy more than most gear does. Learn how food, water and power work before you start.
Lodges serve porridge, eggs, pancakes and Tibetan bread at breakfast. Lunch and dinner revolve around dal bhat, noodle soups, fried rice and momo. Many lodges also serve pizza and pasta, although the menu narrows as you climb. Dal bhat is the sensible default. It delivers rice, lentils and vegetables, and lodges commonly offer refills, which suits a body burning thousands of calories a day. Many guides also advise vegetarian meals at higher altitude, since fresh meat travels a long way and sits for days before it reaches the dining room.
Eat even when your appetite drops. Altitude suppresses hunger, and skipping meals drains your energy faster than the walking does. If you want to learn what you will be eating before you go, a session at the Momo making class in Thamel or the cooking class in Thamel gives you a head start on Nepali food.
Drinking water comes from the lodge, either boiled or treated. Bottled water gets harder to carry and harder to justify with each hundred meters you climb, and discarded plastic bottles have become a serious problem in the Khumbu. Carry a reusable bottle and purification tablets or a filter, and refill each morning. This habit protects your stomach and reduces waste on a fragile trail.
Showers exist, though they come at an extra charge because heating water at altitude takes fuel. Expect hot bucket showers or solar-heated showers in lower villages, and none at all when the temperature falls far enough to freeze the pipes. Wet wipes and a quick-dry towel become your standard cleaning kit above Dingboche.
Power comes from solar panels or micro-hydro, and many lodges charge a small fee per device. Cloudy days reduce supply at height, so a power bank of 10,000 to 20,000 mAh keeps you independent. Wi-Fi is available in most lodges through Everest Link or Airlink networks, and speed drops as you climb. Mobile signal works in Lukla, Phakding, Namche Bazaar and Tengboche, but it fades above Lobuche. Buy a local SIM card from Ncell or Nepal Telecom in Kathmandu with your passport and a photo if you want data on the lower sections.
Carry cash in small notes. Lodges rarely change large bills, and no machines exist above Namche. Rooms are normally twin share with shared bathrooms, and a few lower lodges offer attached bathrooms.
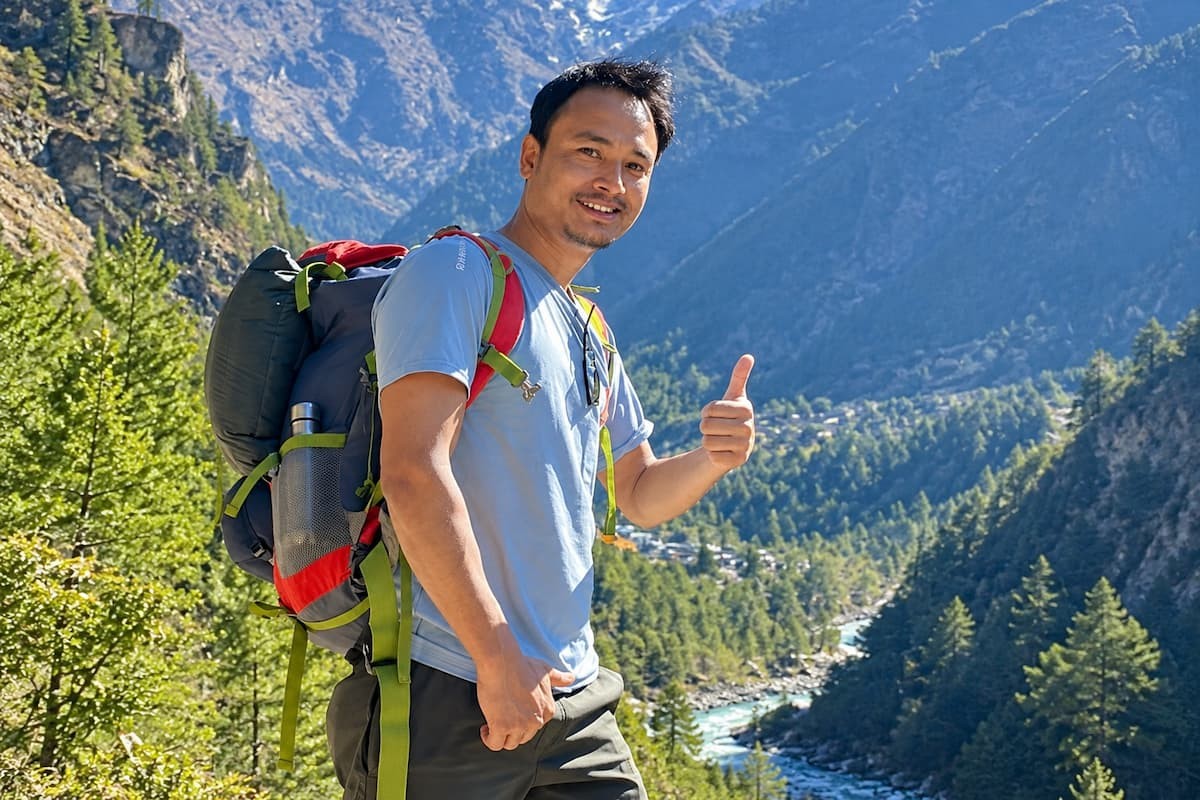
A good guide changes the whole trek. A licensed guide knows the trail, reads weather and altitude symptoms, handles permits and lodges, and speaks the language of every teahouse owner. A good porter carries your load so your energy goes into walking and recovery.
Look for an operator registered with the Nepal Tourism Board and a member of the Trekking Agencies' Association of Nepal. Check recent reviews on TripAdvisor and Google, and read what trekkers say about guide behavior, safety decisions and porter treatment. Be careful with offers that sit far below the rest of the market, because low prices often mean low wages, weak insurance for staff and cut corners on safety. Treklanders Adventures assigns one porter for every two trekkers, pays fair wages, provides insurance cover and decent lodging for guides and porters, and carries a first aid kit on every group trek. You can meet the people behind this on the Treklanders team page and read more on the About Us page. Past clients describe their experience on the reviews page, and the photo gallery shows real trips on the trail.
Respect for local culture is part of the job on the trail. Sherpa communities practice Tibetan Buddhism, and you will see mani walls, prayer wheels and chortens at the edges of villages. Pass them on the left side, keeping them to your right in a clockwise direction. Do not touch religious carvings with dirty hands, ask before photographing monks or villagers, and dress modestly in monasteries. A simple "Namaste" works everywhere along the trail and opens conversations quickly.
Carry out your waste. Plastic wrappers, batteries and tissue should return to Kathmandu with you, because lodges at altitude cannot dispose of them. Stay on marked paths so you do not widen erosion scars, and keep a distance from wildlife. Himalayan tahr graze on the crags above the Everest trail, and the Impeyan pheasant, Nepal's national bird, lives in the lower forest.
Treat your crew as colleagues. Learn their names, eat with them when the lodge allows it, and follow their advice on pace and weather. They have crossed these passes hundreds of times. Tipping is customary, and the standard approach is to agree on the amount as a group on the last evening and hand it over together.
If you want to talk through a route, the team answers questions through the contact page, by WhatsApp and by email.
This section follows the 12-day Everest Base Camp route from the Treklanders itinerary. Read it as a worked example of the ten tips.
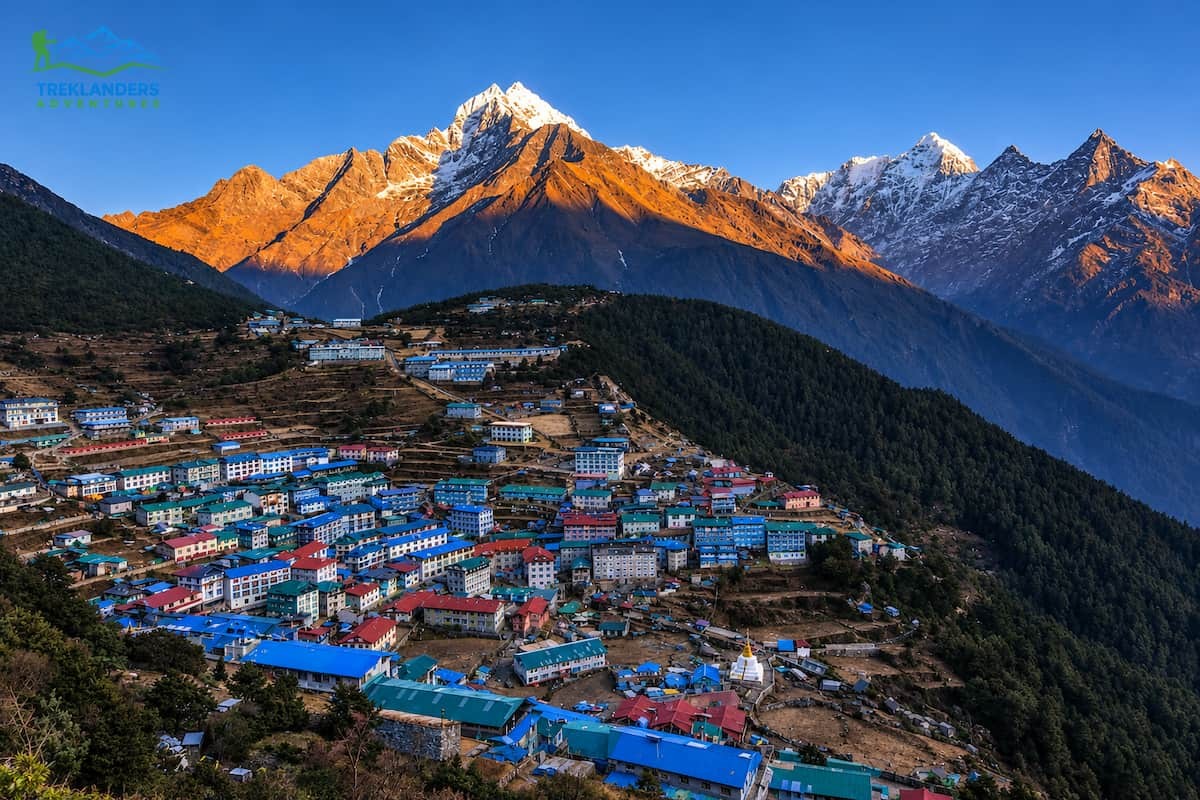
Your trek begins with an early breakfast and a short drive to the domestic terminal in Kathmandu. A small aircraft carries you to Lukla in about 35 minutes, and the window seats show Everest, Lhotse and Makalu on clear mornings. After you collect your bags at Lukla, you rest briefly and start walking with your guide. The first day is gentle. The trail drops and climbs through villages to Phakding at 2,610 meters, a walk of about four hours, and you sleep there for the first night.
Day two is longer, around six hours. The path crosses bridges to Monjo, where you enter Sagarmatha National Park and your permits get checked. This park has protected the area since 1976 and holds World Heritage status from 1979. You stop for lunch at Jorsalle, walk along the Dudh Koshi River through rhododendron and pine, and cross a high suspension bridge. Then comes the steep, undulating climb to Namche Bazaar at 3,440 meters. You stay two nights.
Day three is your first acclimatization day. You wake to a view of Everest, Lhotse and Ama Dablam from the ridge above town. Many trekkers hike to the Everest View Hotel, which sits high above Namche and offers coffee on a terrace with a very long view. Others visit the museum, which covers Sherpa culture, mountaineering history and the wildlife of the park. Namche gets its name from the Saturday market, and the shops, bakeries and cafes make this the best place to fix gear problems.
On day four you leave Namche on a gradual trail that climbs along a ridge with long views of Everest. The path drops to Phunki Tenga for lunch, and then climbs slowly through rhododendron and pine to Tengboche Monastery at 3,867 meters. Walk inside if the monks are praying and your guide can arrange it. The courtyard looks out at Everest, Lhotse and Ama Dablam, and the monastery is the largest in the Khumbu.
Day five takes you into more open country. You descend to a bridge, climb to Pangboche, the last permanent village on the route, and continue to Somare for lunch with close views of Ama Dablam. The afternoon trail crosses exposed ground, drops to a stream, and then climbs for an hour into the Imja Valley, where Dingboche waits at 4,410 meters beneath the north face of Ama Dablam. The walk takes about five hours.
Day six is the second rest day. You climb the Nakarjung ridge for views that reach as far as Makalu, then you come down to sleep at the same altitude. Eat well, drink plenty of fluid and rest your legs, because the next three days ask the most of you.
Day seven climbs gently to Thugla, which sits halfway between the Dingboche and Pheriche routes. After lunch, a steep climb of less than an hour brings you onto a high ridge, and the trail continues uphill at a slower pace as the air thins. You reach Lobuche at 4,928 meters after about five hours and spend the night there.
Day eight is the big one. Start early with a packed lunch and follow the trail above the Khumbu Glacier to Gorakshep at 5,180 meters. After a short stop, you continue across rock and ice to Everest Base Camp at 5,364 meters. You stand beneath Lhotse, Nuptse and Pumori in a landscape of rock, ice and moraine, then return to Gorakshep for the night. The day takes about six hours.
Day nine starts in the dark and cold. You climb steeply to Kala Patthar at 5,643 meters, where you get the closest and clearest view of Everest on the whole trek, with Pumori standing directly in front. You descend to Gorakshep for breakfast and then retrace your steps through Lobuche and Thugla. The route moves down to Pheriche for lunch, climbs to a ridge, and finishes with a long descent to Pangboche at 3,900 meters. This is the day that tests your knees, and your downhill training pays off here.
Day ten takes you downhill past Ama Dablam to the bridge, then uphill to Tengboche, and on through the forest to Namche Bazaar. The air gets richer with each hundred meters, and most trekkers sleep better than they have for a week. Day eleven is the longest descent. You walk through Monjo and Phakding and climb the last stretch to Lukla by late afternoon, for a final night in the Khumbu.
On day twelve you transfer to the airport and fly back to Kathmandu. The flight gives you one last look at the range. If you have followed Tip 8, you hold a buffer day in your schedule and no deadline presses on you. You can see the full day-by-day plan, including altitudes and walking hours, on the 12-Day Everest Base Camp trek page, and the longer Everest Base Camp trek gives you extra days in the Khumbu.
Good trekking comes from small decisions made weeks before you land: the right season, a route that fits, steady training, a slow ascent, the right permits, light packing, solid insurance, flight buffers, sensible habits on the trail and a guide you trust. Get those ten right and the mountains do the rest.
Treklanders Adventures designs treks from short hikes near Kathmandu to long expeditions in the high Himalaya. Browse the full list of trekking in Nepal options, look at the Annapurna Base Camp trek or the Gokyo Valley trek if Everest feels too crowded, or start from the Plan My Trip page and tell the team what you want. They will build the itinerary around your dates, your fitness and your questions.
Trekking in Nepal during Dashain 2026? Explore essential travel tips, festival experiences, and Himalayan adventures.
Discover insider tips from an experienced Treklanders guide on Everest, Annapurna, and Manaslu trekking, including safety, packing, and expert advice.
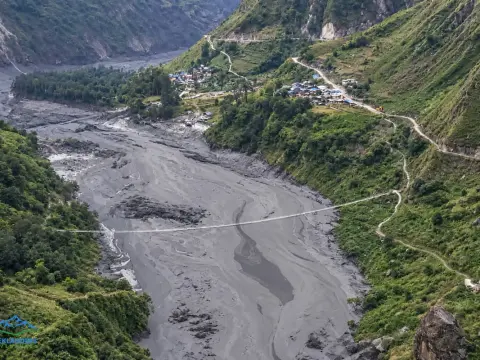
October 2026 Budhi Gandaki flood update: Manaslu and Tsum Valley trail conditions, safety alerts, closures, and trekking alternatives.



