
Nepal Treks Ranked by Difficulty: Which Trek Matches Your Fitness and Experience?
2 Aug 2026
Find the perfect Nepal trek with this difficulty guide, from easy hikes to extreme Himalayan expeditions.

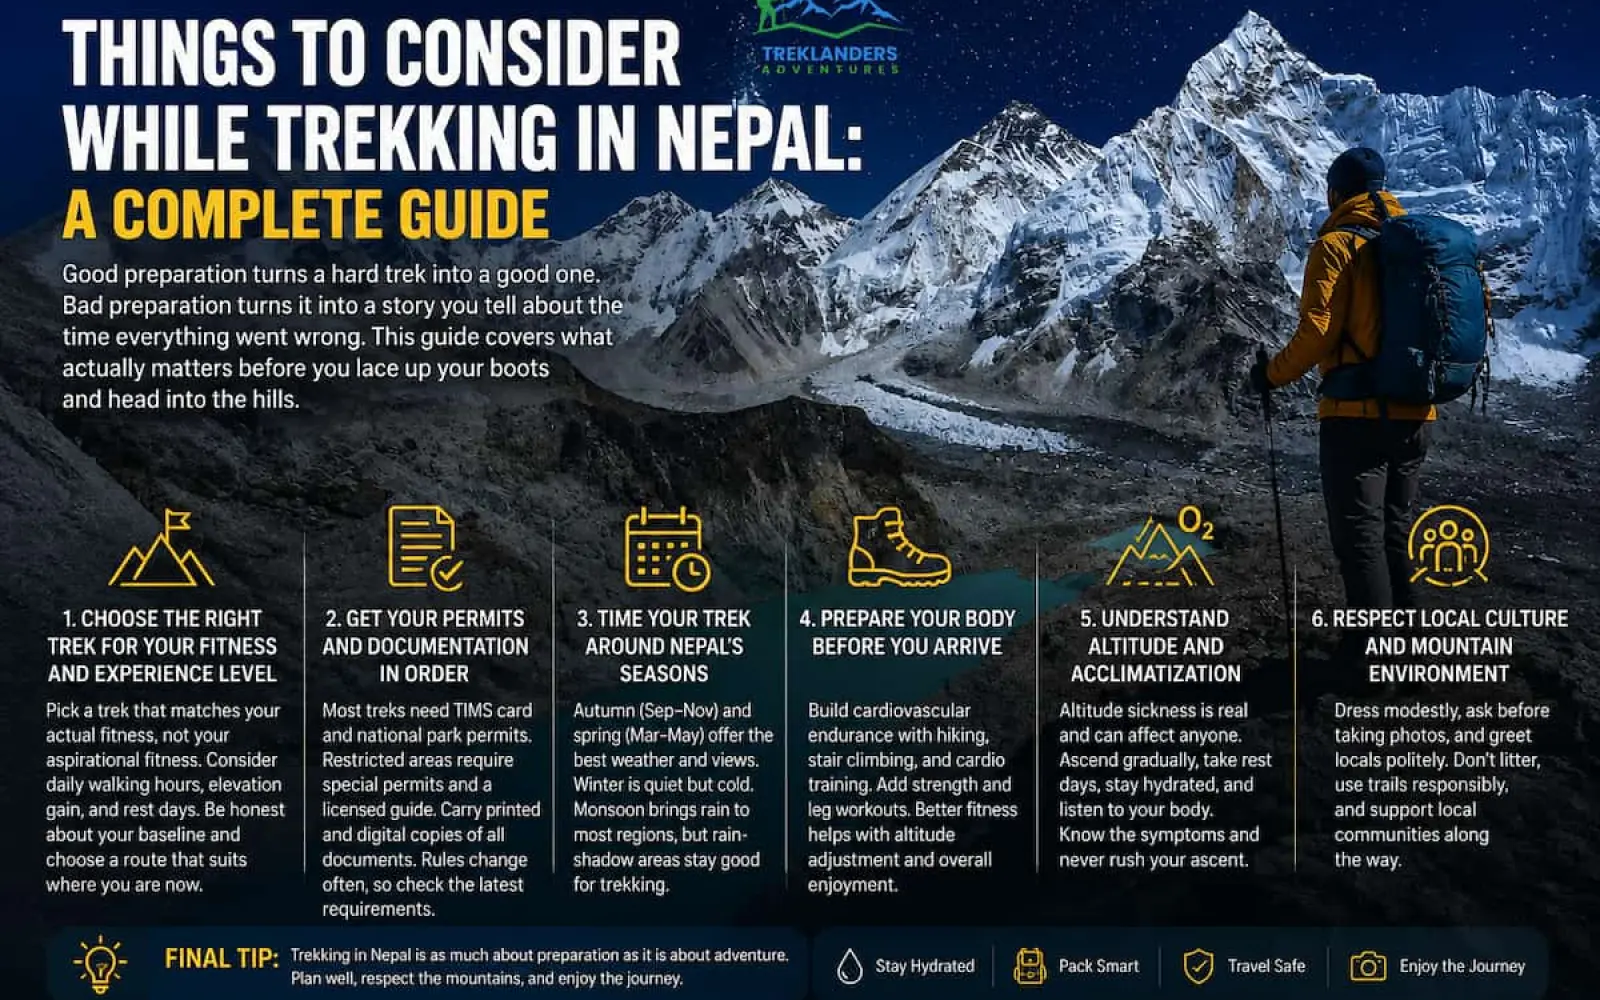
Nepal packs eight of the world's fourteen highest peaks into a country smaller than the state of Illinois. That geography is exactly what draws trekkers here, but it also means the trails demand real preparation. A trek in the Himalayas is not a walk in a city park. You deal with thin air, unpredictable weather, remote terrain, and villages that run on a different rhythm than the one you're used to.
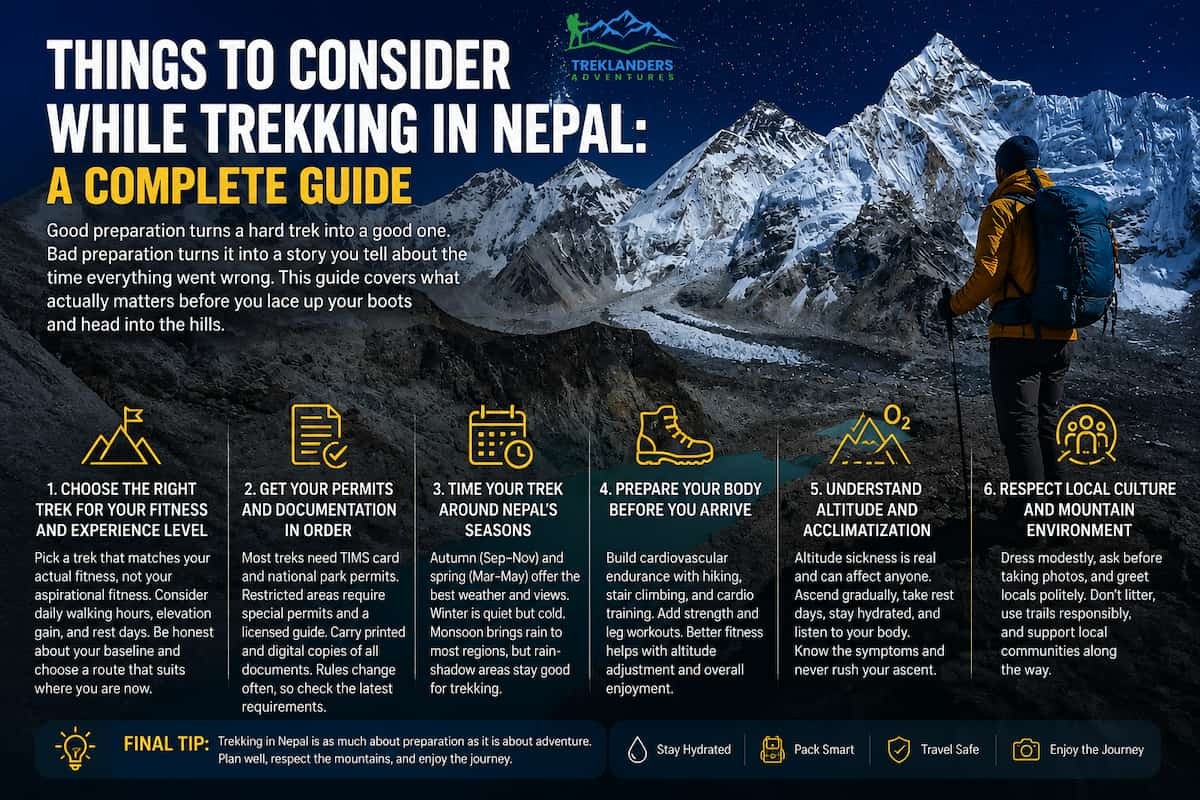
Good preparation turns a hard trek into a good one. Bad preparation turns it into a story you tell about the time everything went wrong. This guide covers what actually matters before you lace up your boots and head into the hills, from permits and fitness to altitude sickness and cultural etiquette.
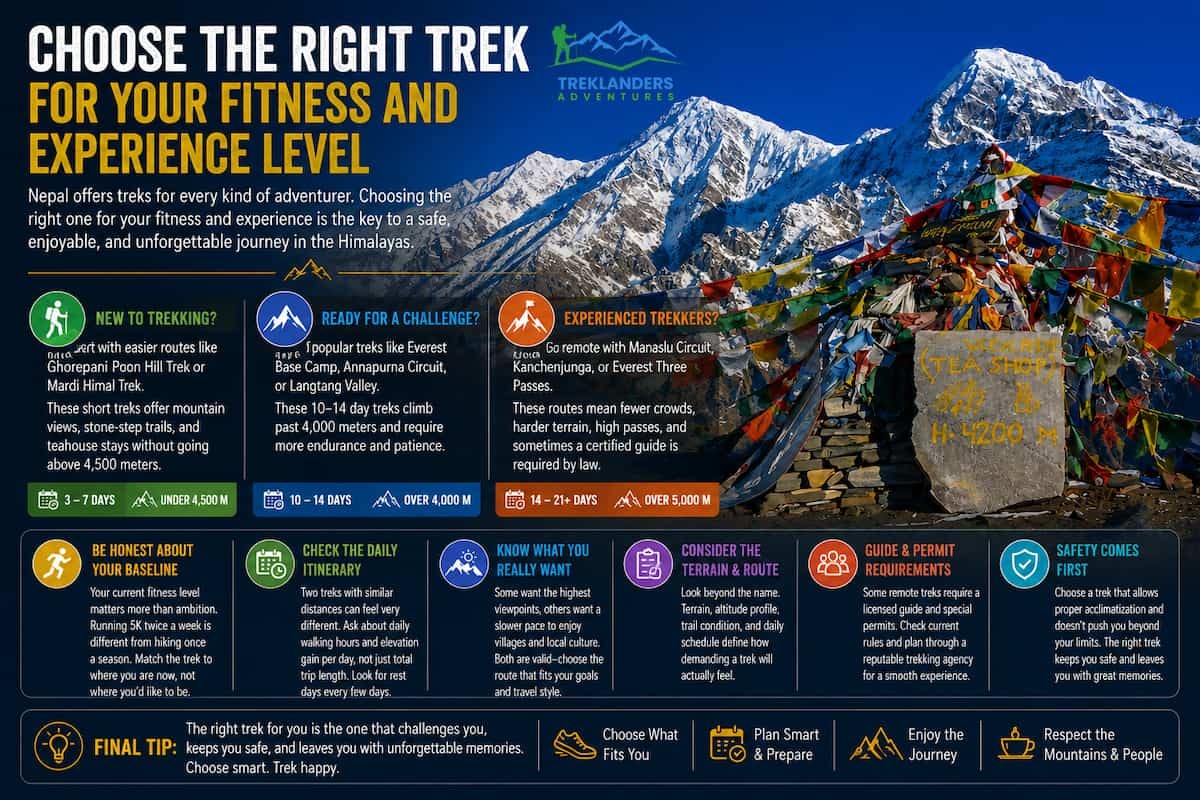
Nepal's trekking routes range from gentle three-day walks through the Annapurna foothills to three-week expeditions that cross high passes above 5,000 meters. Picking a trek that matches your actual fitness, not your aspirational fitness, is the single biggest factor in whether you enjoy the experience.
If you've never trekked before, start with something like the Ghorepani Poon Hill Trek or the Mardi Himal Trek. Both routes give you mountain views, stone-step trails, and teahouse stays without pushing you above 4,500 meters or requiring back-to-back long days. You get a real taste of Himalayan trekking without betting your knees and lungs on it.
If you've trekked at altitude before and want a bigger challenge, routes like Everest Base Camp, Annapurna Circuit, or Langtang Valley step things up. These treks run 10 to 14 days, climb past 4,000 meters, and ask more of your legs and your patience.
For experienced trekkers chasing something remote, Manaslu Circuit, Kanchenjunga, or the Everest Three Passes route deliver fewer crowds and harder terrain. These trails cross high passes, involve longer trekking days, and sometimes require a certified guide by law.
Be honest with yourself about your baseline. Someone who runs 5K twice a week handles altitude and daily walking differently than someone who hikes once a season. Match the trek to where you are now, not where you'd like to be.
Look past the headline name of a trek and check the actual daily itinerary. Two routes with similar total distances can feel completely different depending on how the days break down. A trek with six-hour days and a rest day every third or fourth stop is a different experience than one that packs eight-hour days back to back with no buffer. Ask about daily walking hours and elevation gain per day, not just total trip length, before you commit.
It also helps to think about what you actually want. Some trekkers want the highest possible viewpoint and don't mind a demanding schedule to get there. Others want a slower pace with time to sit in a teahouse courtyard and actually absorb the villages they're passing through. Both are valid reasons to trek in Nepal, and your route should reflect which one matters more to you.
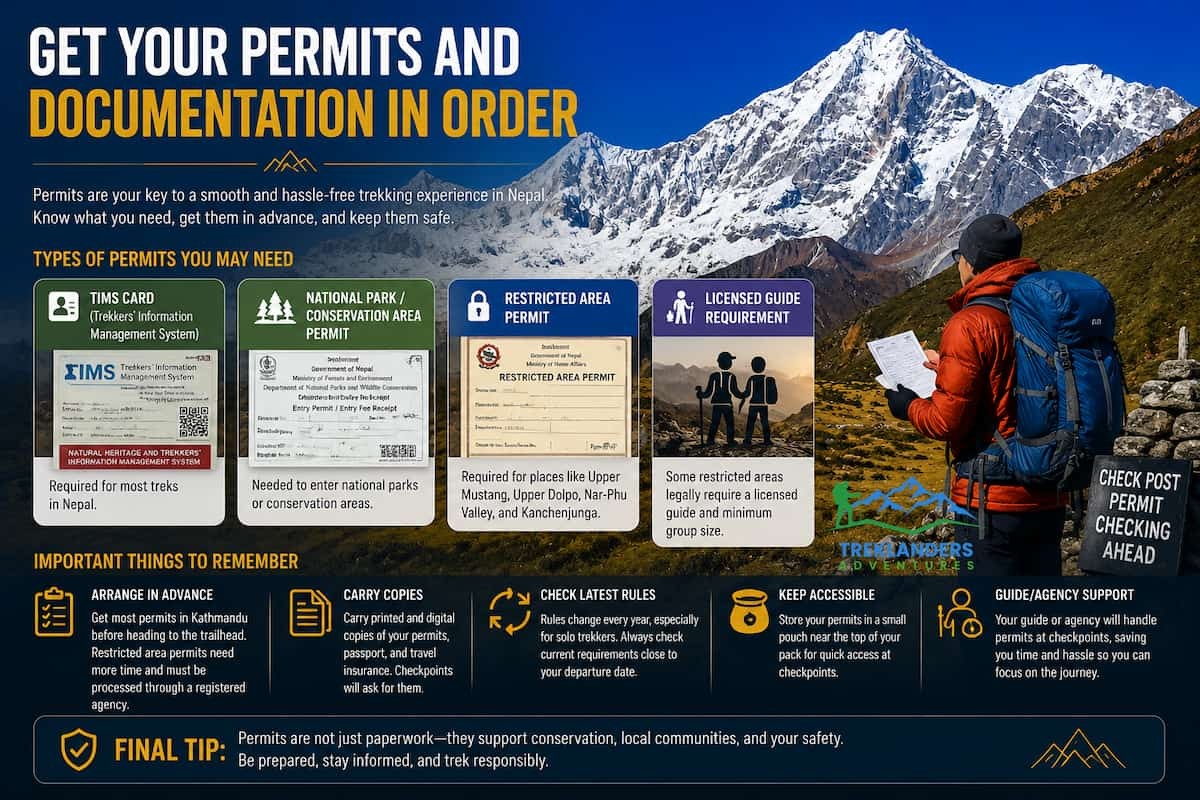
Every trekking route in Nepal requires permits, and the specific permits depend on where you're headed. Most routes need a TIMS card (Trekkers' Information Management System) and a national park or conservation area entry permit. Restricted areas like Upper Mustang, Upper Dolpo, Nar-Phu Valley, and Kanchenjunga require special restricted area permits, which come with their own rules, including a minimum group size and a licensed guide requirement.
You can arrange most permits in Kathmandu before you head to the trailhead, and some are available at checkpoints along popular routes. Restricted area permits need more lead time and usually get processed through a registered trekking agency, since individual trekkers can't apply for them directly.

Carry printed and digital copies of your permits, your passport, and your travel insurance details. Checkpoints along the trail ask for these documents, and losing them mid-trek creates real headaches in areas without easy access to replacement paperwork.
Rules change from year to year, particularly around solo trekking. Some routes that once allowed independent trekkers without a guide now require one. Check current requirements close to your departure date rather than relying on information from a few years back.
Keep your permits somewhere you can reach quickly, ideally in a small pouch near the top of your pack rather than buried under layers of clothing. Checkpoint stops happen at odd moments, sometimes at the start of a long climb when the last thing you want to do is dig through your bag in the cold. A guide or agency typically manages this process for you, handing over documents at each checkpoint.
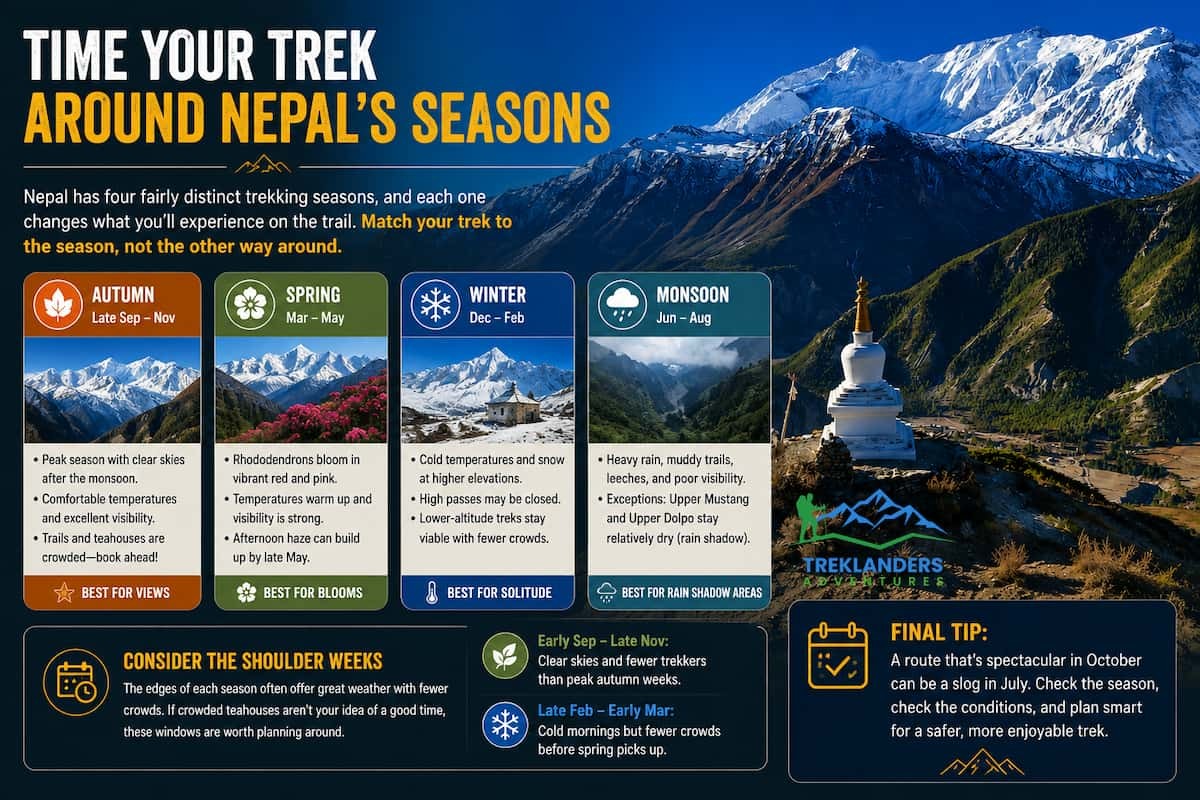
Nepal has four fairly distinct trekking seasons, and each one changes what you'll experience on the trail.
Autumn, from late September through November, is peak season for good reason. Skies are clear after the monsoon washes the dust out of the air, temperatures sit in a comfortable range, and mountain views are about as good as they get. This is also when trails and teahouses fill up the most, so book ahead if you're trekking a popular route during this window.
Spring, from March through May, runs a close second. Rhododendron forests bloom in shades of red and pink across the mid-hills, temperatures climb through the season, and visibility stays strong for most of it, though afternoon haze can build up by late May.
Winter, from December through February, brings cold temperatures and snow at higher elevations, which closes some high passes. Lower-altitude treks like Ghorepani Poon Hill or Langtang Valley (up to Kyanjin Gompa) stay viable, and you'll deal with far fewer trekkers and colder nights in teahouses that don't always have reliable heating beyond a central dining room stove.
Monsoon, from June through August, brings heavy rain to most of the country and makes many trails muddy, leech-prone, and socked in with clouds that block mountain views. The major exceptions are Upper Mustang and Upper Dolpo, which sit in a rain shadow and stay relatively dry through monsoon season.
Match your trek to the season, not the other way around. A route that's spectacular in October can be a slog in July.
The shoulder weeks at the edges of each season are worth considering too. Early September and late November often deliver clear skies with noticeably fewer trekkers than the peak weeks in between. Late February and early March offer a similar window before spring crowds build, with colder mornings as the trade-off. If crowded teahouses aren't your idea of a good time, these edge weeks are worth building your trip around.
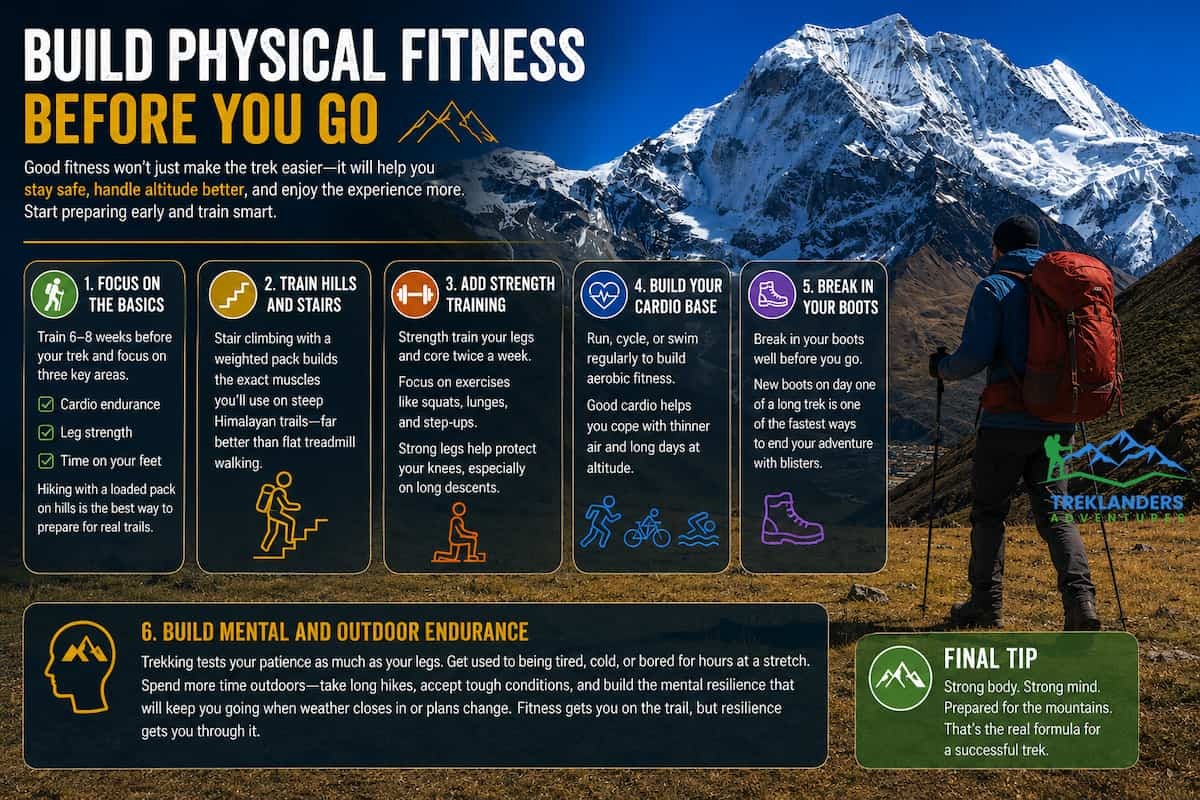
You don't need to be an athlete to trek in Nepal, but you do need a functioning cardiovascular system and legs that can handle repeated climbs and descents on uneven ground, sometimes for six or more hours a day.
Start training at least six to eight weeks out if you can. Focus on three things: cardio endurance, leg strength, and time on your feet. Hiking with a loaded pack on hilly terrain is the closest simulation you'll get, so if you have access to hills or stairs, use them regularly. Stair climbing, especially with a weighted pack, builds the specific muscles you'll use on steep Himalayan trails far better than flat treadmill walking does.
Add strength training for your legs and core twice a week. Squats, lunges, and step-ups build the muscle you need for long descents, which tend to hurt more than the climbs since they hammer your knees and quads.

Cardio matters just as much as strength. Running, cycling, or swimming a few times a week builds the aerobic base that helps you cope with thinner air at altitude. Trekking at 4,000 meters with weak cardio fitness makes every step feel twice as hard.
If your trek involves multiple days above 4,000 meters, break in your boots well before you leave. New boots on day one of a two-week trek is how blisters end trips early.
Physical fitness only gets you part of the way there. Long trekking days test patience as much as they test your legs, especially when weather closes in and you're stuck in a teahouse dining room for an afternoon with nothing to do. The best way to build that resilience is spending longer stretches outdoors before your trip, even if that just means a full day hike rather than your usual two-hour loop. Getting comfortable with being tired, cold, or bored for hours at a stretch pays off once you're actually on the trail.
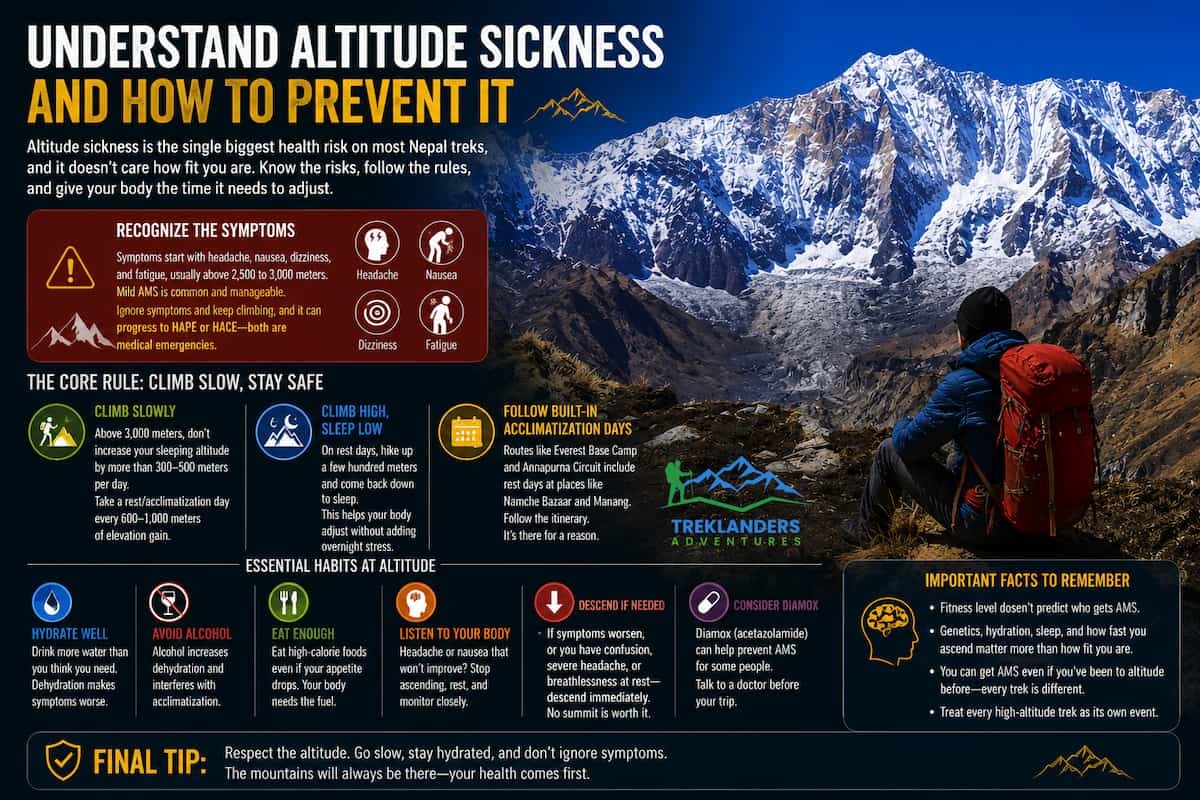
Altitude sickness is the single biggest health risk on most Nepal treks, and it doesn't care how fit you are. Acute Mountain Sickness (AMS) can hit a marathon runner just as hard as it hits someone who rarely exercises, because it comes down to how your individual body responds to lower oxygen levels, not your fitness level.
Symptoms start with headache, nausea, dizziness, and fatigue, usually above 2,500 to 3,000 meters. Mild AMS is common and manageable. The danger comes when you ignore symptoms and keep climbing, which can progress to High Altitude Pulmonary Edema (HAPE) or High Altitude Cerebral Edema (HACE), both of which are medical emergencies.
The core rule for prevention is simple: don't climb too fast. Above 3,000 meters, your sleeping altitude shouldn't increase by more than 300 to 500 meters per day, and you should build in a rest or acclimatization day every 600 to 1,000 meters of elevation gain. Routes like Everest Base Camp and Annapurna Circuit build these rest days into standard itineraries at places like Namche Bazaar and Manang.
"Climb high, sleep low" is a real strategy, not just a saying. On rest days, hike up a few hundred meters during the day and come back down to sleep. This helps your body adjust without adding overnight altitude stress.
Drink more water than you think you need, avoid alcohol at altitude, and eat enough calories even when your appetite drops, which it often does above 3,500 meters. If you develop a headache or nausea that doesn't improve with rest and water, stop ascending. If symptoms worsen or you develop confusion, severe headache, or breathlessness at rest, descend immediately. No summit or base camp is worth ignoring HAPE or HACE symptoms.
Some trekkers use Diamox (acetazolamide) as a preventive measure, which can speed up acclimatization. Talk to a doctor before your trip if you're considering it, since it's not right for everyone and comes with its own side effects.
Fitness level doesn't predict who gets hit hardest by altitude, and that catches a lot of trekkers off guard. Genetics, hydration, sleep quality, and how fast you ascend all play a bigger role than how many marathons you've run. Someone who's trekked at altitude before without issue can still get AMS on a different trip, since your body's response isn't fixed from one trek to the next. Treat every high-altitude trek as its own event.
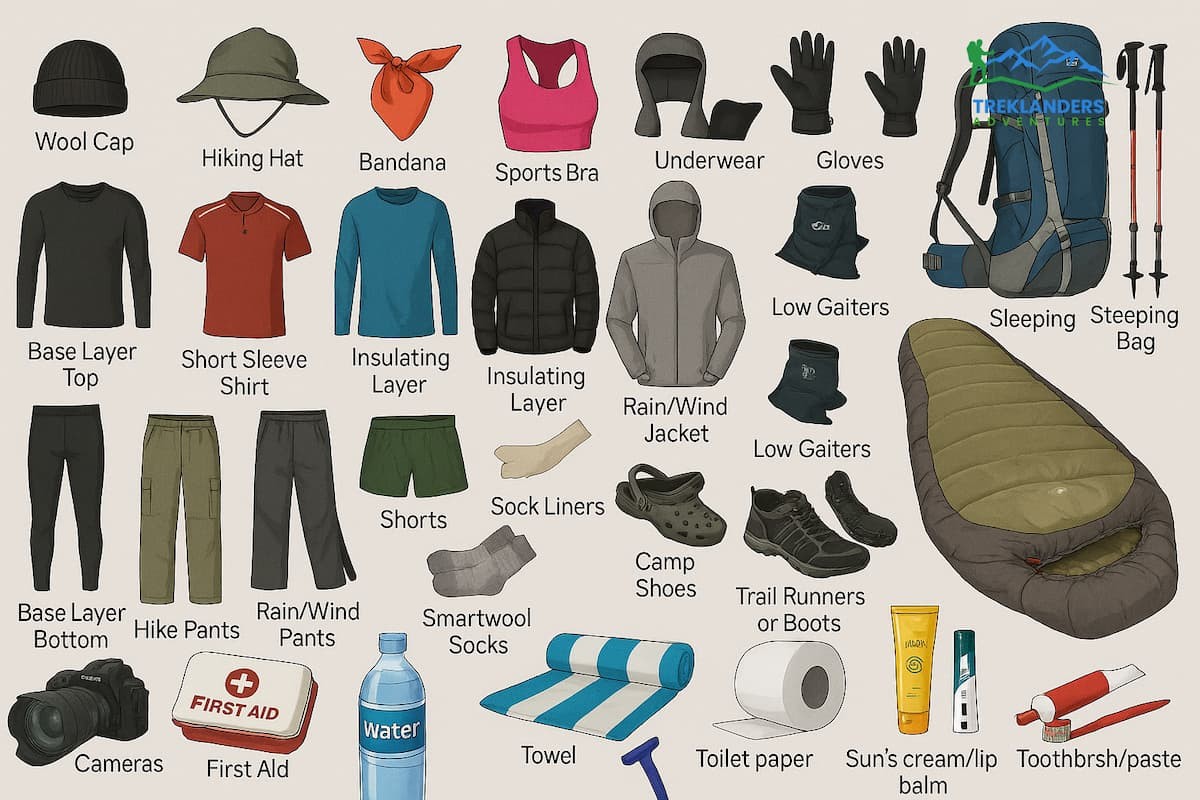
Nepal's trekking routes cover a huge range of temperatures and conditions, sometimes within a single day. You'll want a layering system rather than one heavy jacket, since you're regulating temperature constantly as you climb, stop, and descend.
Start with a moisture-wicking base layer, add an insulating mid-layer like fleece or a light down jacket, and top it with a waterproof, windproof shell. At higher elevations or during colder months, add a heavier down jacket for evenings and early mornings, when temperatures at teahouses can drop well below freezing even in the main trekking seasons.
Footwear matters more than almost anything else you pack. Get broken-in, waterproof trekking boots with good ankle support, and bring trekking poles if you're doing any route with sustained descents. Poles take real pressure off your knees on the way down and help with balance on loose or wet trail sections.
A good sleeping bag rated for at least -10°C to -15°C is worth the extra pack weight on high-altitude treks. Teahouses provide blankets, but they're often not enough for the coldest nights, and a solid sleeping bag is one less thing to worry about.
Other essentials include a headlamp with spare batteries, a water bottle or hydration bladder, a basic first aid kit, sunscreen and sunglasses rated for high UV exposure at altitude, a lightweight daypack for day hikes on acclimatization days, and a power bank, since electricity in teahouses is limited and sometimes charged by the hour or by device.
Pack light where you can. If you're hiring a porter, there's typically a weight limit, usually around 10 to 15 kilograms per trekker, so pack what you need and skip what you don't.
A few smaller items make a bigger difference than their size suggests. Gaiters keep dust, mud, and snow out of your boots. A buff works as a scarf, a sun shield, and a face cover against dust kicked up by mule trains. Earplugs help with thin teahouse walls and early morning yak bells. Wet wipes and hand sanitizer cover the days between real showers, which happen less often the higher you climb. None of these items weigh much, but each one solves a recurring annoyance on the trail.
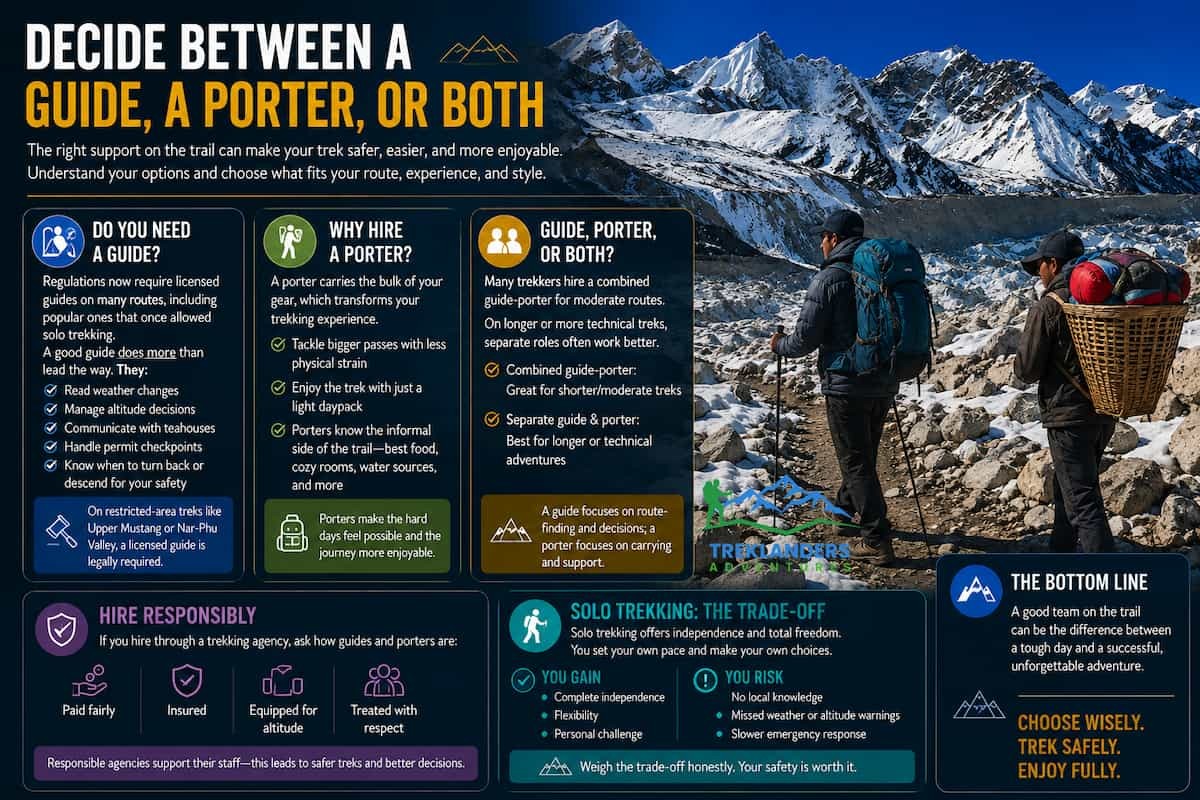
Whether you need a guide depends on the route, your experience, and current regulations, which have shifted in recent years toward requiring licensed guides on more trails, including popular routes that once allowed solo trekking.
A guide does more than point you in the right direction. A good guide reads weather changes, manages altitude-related decisions, communicates with teahouse owners, handles permit checkpoints, and can make the call to turn back or descend if you're showing signs of altitude sickness. On restricted-area treks like Upper Mustang or Nar-Phu Valley, a licensed guide is legally required, not optional.
A porter carries the bulk of your gear, which changes the entire physical experience of a multi-day trek. Carrying a full pack over a 5,000-meter pass is a different challenge than carrying a light daypack. Porters also tend to know the informal side of the trail: which teahouse serves the best food, which room has the least draft, where the next water source is.
Many trekkers hire a combined guide-porter, which works well on moderate routes. On longer or more technical treks, separate guide and porter roles make more sense, since a guide focused on route-finding and decision-making shouldn't also be managing a heavy pack for ten days straight.
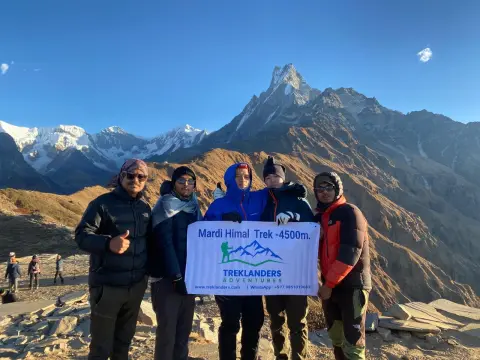
If you hire through a trekking agency, ask about how guides and porters are paid, insured, and equipped. Responsible agencies provide their staff with proper gear for altitude and pay fair wages, which matters both ethically and practically, since a well-supported crew makes better decisions on your behalf.
Solo trekking without any guide or porter still appeals to some trekkers, and on routes where it's still permitted, it offers a different kind of independence. You set your own pace and don't coordinate with anyone else's preferences. The trade-off is real, though. You lose someone with local knowledge who can flag a weather change before it becomes a problem and make a fast, informed call if you start showing altitude symptoms. Weigh that trade-off honestly before deciding.
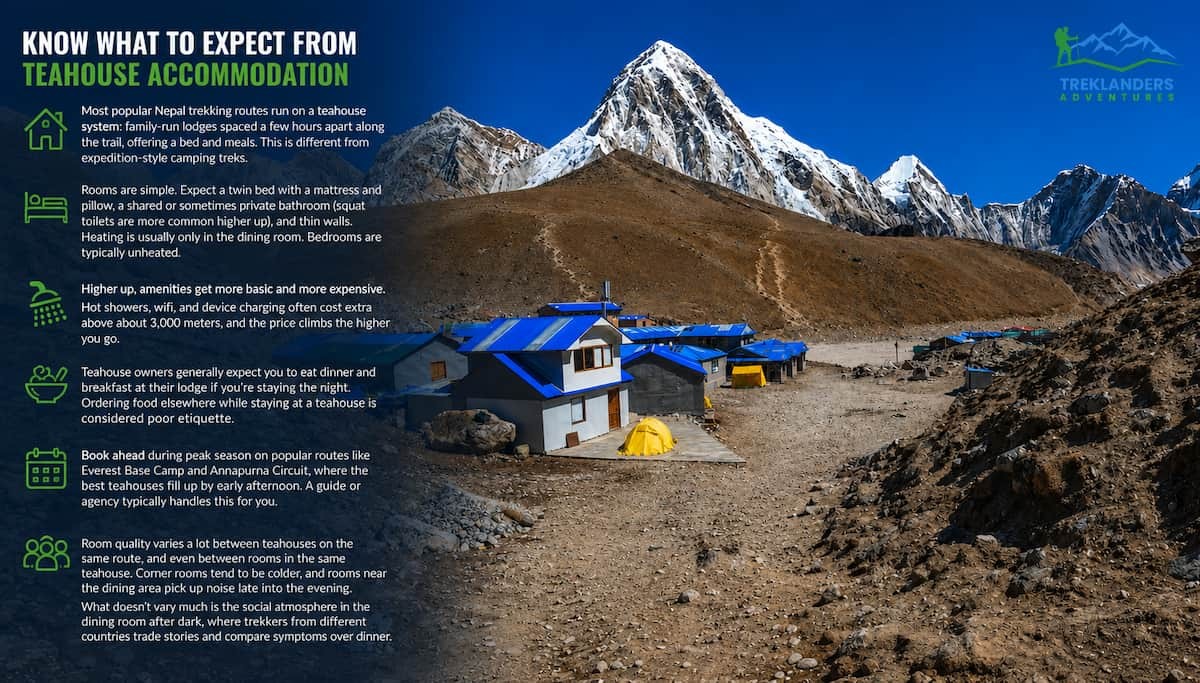
Most popular Nepal trekking routes run on a teahouse system: family-run lodges spaced a few hours apart along the trail, offering a bed and meals. This is different from expedition-style camping treks, which are mostly reserved for remote or technical routes without teahouse infrastructure.
Rooms are simple. Expect a twin bed with a mattress and pillow, a shared or sometimes private bathroom (squat toilets are more common the higher and more remote you go), and thin walls that don't block much sound. Heating, when it exists, is usually limited to a wood or dung-fired stove in the central dining room, where trekkers gather in the evening. Bedrooms themselves are typically unheated, which is why a good sleeping bag matters.
Higher up the trail, amenities get more basic and more expensive. Hot showers, wifi, and device charging often cost extra above about 3,000 meters, and the price climbs the higher you go, since everything gets carried up by porters or mules. Don't expect the same comfort level at 4,500 meters that you got on night one of the trek.
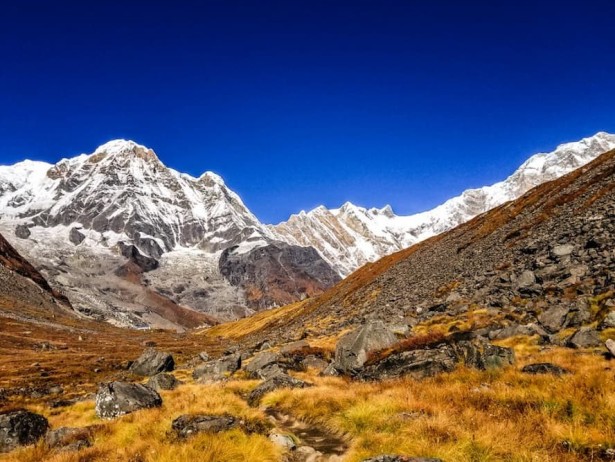
Teahouse owners generally expect you to eat dinner and breakfast at their lodge if you're staying the night, which is standard practice and part of how they make the accommodation affordable. Ordering food elsewhere while staying at a teahouse is considered poor etiquette.
Book ahead during peak season on popular routes like Everest Base Camp and Annapurna Circuit, where the best teahouses fill up by early afternoon. A guide or agency typically handles this coordination for you.
Room quality varies a lot between teahouses on the same route, and even between rooms in the same teahouse. Corner rooms tend to be colder, and rooms near the dining area pick up noise late into the evening. Ask to see the room before committing if you have options. What doesn't vary much is the social atmosphere in the dining room after dark, where trekkers from different countries trade stories and compare symptoms over dinner.
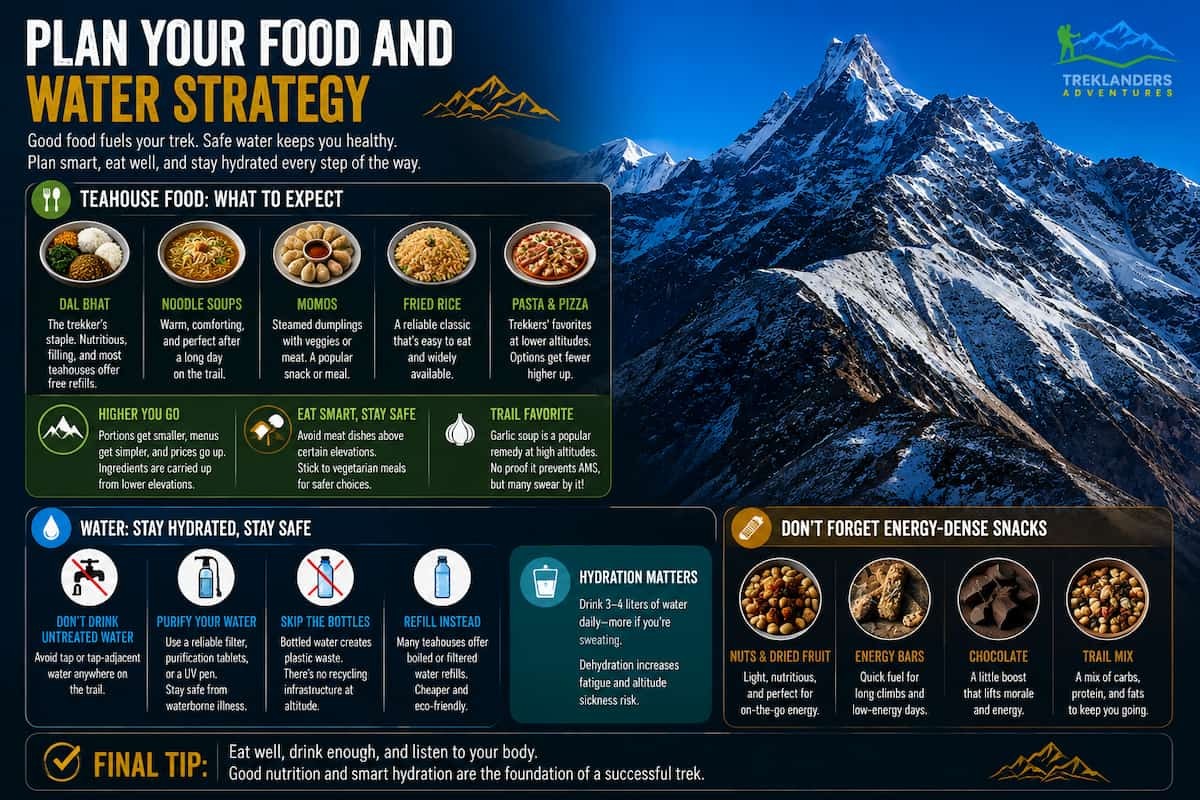
Teahouse menus follow a familiar pattern across most routes: dal bhat (lentils, rice, and vegetable curry), noodle soups, fried rice, momos, and a rotating cast of pasta and pizza dishes aimed at trekkers. Dal bhat is the trekker's staple for good reason. Most teahouses offer free refills, and the combination of rice, lentils, and vegetables gives you the sustained energy a long trekking day demands.
Portion sizes and menu variety shrink the higher you climb, and so does the reliability of ingredients that need to be carried up from lower elevations. Meat dishes become less advisable above certain elevations, since refrigeration is unreliable and meat gets carried up the trail for days before it's cooked. Many experienced trekkers stick to vegetarian meals once they're several days into a high-altitude route.
Water needs careful handling on every trek. Don't drink untreated tap or tap-adjacent water anywhere on the trail. Bring a reliable purification method: a filter, purification tablets, or a UV pen. Buying bottled water works but creates plastic waste at a scale the mountains can't handle, since there's no real recycling infrastructure at altitude. Many teahouses now sell boiled or filtered water refills, which is both cheaper over the length of a trek and far better for the environment than bottled water.
Hydration matters more at altitude than most trekkers expect. Aim for three to four liters a day, more if you're sweating heavily during a climb.Dehydration makes altitude symptoms worse and makes you more tired than the terrain alone would explain.
Bring a stash of energy-dense snacks from home or Kathmandu, since teahouse meals can take a while to arrive and appetite often drops at altitude even when your body still needs the calories. Nuts, dried fruit, energy bars, and chocolate travel well and give you something to eat during a long climbing stretch. Garlic soup is a trail favorite at higher elevations, and while there's no strong evidence it prevents altitude sickness, plenty of trekkers swear by it anyway.
Standard travel insurance often doesn't cover trekking at altitude, and definitely doesn't cover helicopter evacuation, which is the single most important coverage to have on a Nepal trek. Read your policy closely, and specifically check the altitude ceiling it covers. Some policies cap coverage at 4,000 or 5,000 meters, which won't help you on treks that cross higher passes.
Helicopter evacuation from remote trekking regions is expensive, and rescue operators in Nepal generally want proof of coverage before they'll fly, not a promise to sort out payment later. Insurance that explicitly covers high-altitude trekking and emergency evacuation is not optional for any trek above 3,000 meters.
Buy your policy before you leave home. Most reputable insurers won't sell you a policy once you're already in Nepal or already on the trail, and even if they would, you don't want to be sorting out paperwork mid-emergency.
Keep a digital and printed copy of your insurance details, including the emergency contact number, somewhere accessible on your person, not buried in your main pack. If something goes wrong, you want that information available in seconds, not after digging through a bag at 4,500 meters in bad weather.
Read the fine print on what triggers evacuation coverage. Some policies only pay out if a doctor certifies the evacuation as medically necessary, which means you need access to a phone or satellite device to get that certification while still on the mountain. Others require you to pay upfront and file for reimbursement later, a very different situation to be in mid-emergency than a policy that coordinates payment directly with the rescue operator. Know which type you're carrying before you need to use it.
Cell coverage and wifi exist on most popular trekking routes, but the further you get from the trailhead, the less reliable both become. Everest and Annapurna regions have reasonably good coverage through local providers and teahouse wifi networks, though speeds are slow and connections drop often, especially in bad weather.
More remote routes like Kanchenjunga, Upper Dolpo, or the far side of Manaslu Circuit have patchy to nonexistent connectivity for days at a time. If you're trekking somewhere remote, tell people at home to expect silence and set a check-in plan for when you're back in range, rather than expecting daily updates.
A local SIM card with a data plan, purchased in Kathmandu before you leave, generally works better and costs less than international roaming. Ncell and Nepal Telecom both offer trekking-friendly data packages, though coverage quality varies by region and provider.
If your trek goes somewhere genuinely remote, consider a satellite messenger device. These let you send basic check-in messages and, critically, trigger an SOS in a real emergency, even in areas with zero cell coverage. This is standard practice on restricted-area treks and worth carrying on any route that takes you multiple days from the nearest road.
Manage your power carefully. Cold drains batteries faster than usual, so keep your phone, power bank, and any satellite device in an inner pocket close to your body overnight rather than leaving them in an unheated room. A power bank rated for at least 10,000 mAh usually covers a phone and headlamp for several days between charging opportunities, which matters on stretches of trail where charging isn't always available.
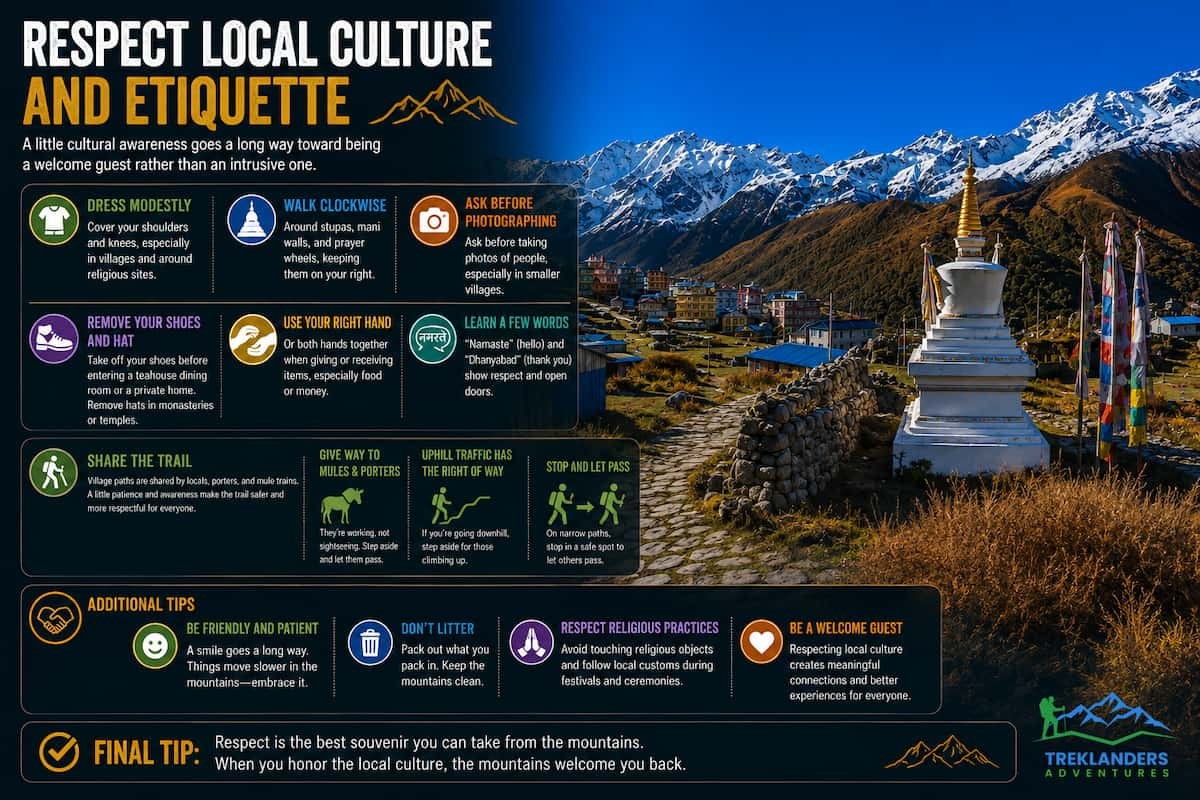
Nepal's trekking routes pass through villages where trekking tourism is one part of daily life layered on top of farming, herding, and religious practice that predates tourism by centuries. A little cultural awareness goes a long way toward being a welcome guest rather than an intrusive one.
Dress modestly, particularly in villages and around religious sites. Shoulders and knees covered is a safe baseline, even though you'll see plenty of trekkers in shorts and tank tops on the trail itself.
Walk clockwise around Buddhist stupas, mani walls, and prayer wheels, keeping them on your right side. This is a basic Buddhist custom observed throughout the Everest, Langtang, and Manaslu regions, and locals notice when trekkers ignore it.
Ask before photographing people, especially in smaller villages where trekking traffic is lighter and tourism feels more novel. A smile and a gesture toward your camera usually gets you a clear yes or no, and most people are happy to be photographed once asked.

Remove your shoes before entering a teahouse dining room or a private home, and remove hats when entering monasteries or temples. Use your right hand, or both hands together, when giving or receiving items, particularly food or money, since the left hand carries different cultural associations in Nepal.
Learn a few words of Nepali. "Namaste" as a greeting and "Dhanyabad" for thank you cost you nothing and open doors, sometimes literally, with teahouse owners and porters who appreciate the effort even when your pronunciation is rough.
Pace matters too, in a way that's easy to overlook. Trekking trails run through village lanes where local people, mule trains, and porters carrying heavy loads all share the same narrow path. Give way to loaded mules and porters, since they're working, not sightseeing, and stopping mid-stride to let a loaded animal train pass is both safer and more considerate than expecting them to work around you. On climbs, uphill traffic generally has the right of way, so step aside if you're heading down and someone is grinding their way up.
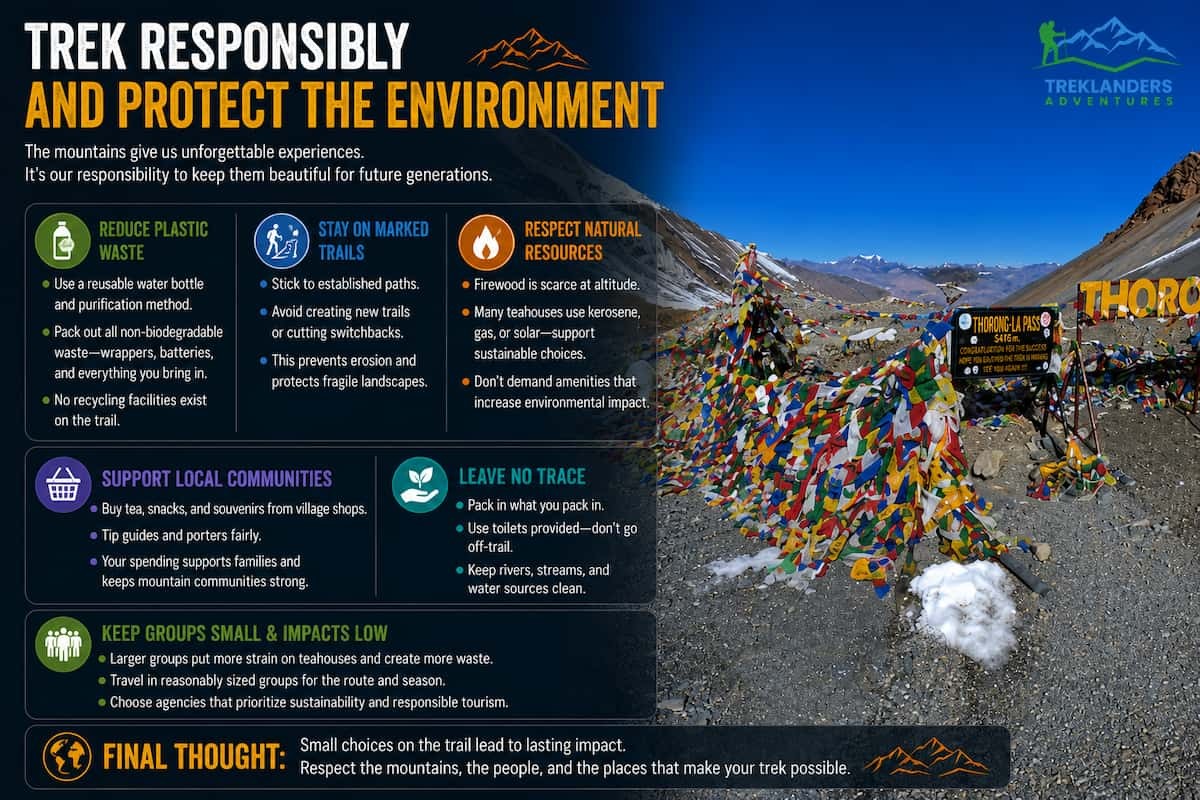
Nepal's trekking regions carry a heavy environmental burden from decades of growing tourist traffic, and every trekker's choices add up across a season that sees hundreds of thousands of visitors on the most popular routes.
Carry a reusable water bottle and a purification method instead of buying bottled water, which creates plastic waste in regions with no meaningful recycling infrastructure. Pack out what you pack in, including wrappers, batteries, and anything that doesn't break down naturally. Trail-side trash has become a visible problem on routes like Everest Base Camp, and it's almost entirely preventable at the individual level.
Stick to marked trails rather than cutting switchbacks or creating new paths, which accelerates erosion on slopes that are already under stress from foot traffic, weather, and, increasingly, climate-driven glacial melt.
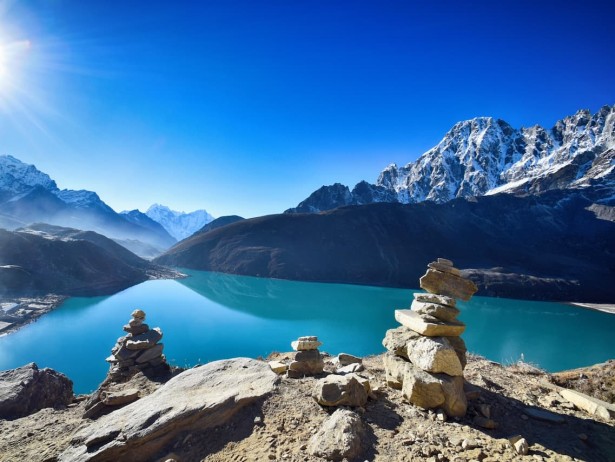
Firewood is a limited resource in high-altitude regions where trees grow slowly or not at all above a certain elevation. Many teahouses now use kerosene, gas, or solar for cooking and heating specifically because of deforestation concerns from decades of wood-fired lodges. Ask before assuming a hot shower or extra heating comes without an environmental cost, and don't push for amenities a teahouse doesn't offer as standard.
Support local economies directly. Buy tea, snacks, and souvenirs from village shops rather than stocking up entirely in Kathmandu. Tip guides and porters fairly, since trekking tourism is a major income source for mountain communities, and the money you spend along the trail matters more to these villages than the same amount spent in the capital.
Group size affects environmental impact more than most trekkers realize. Larger groups put more strain on limited teahouse capacity and generate more waste in villages without formal collection systems. If you're organizing a group trip, keep numbers reasonable for the route and season, and choose an agency that treats sustainability as a real priority.
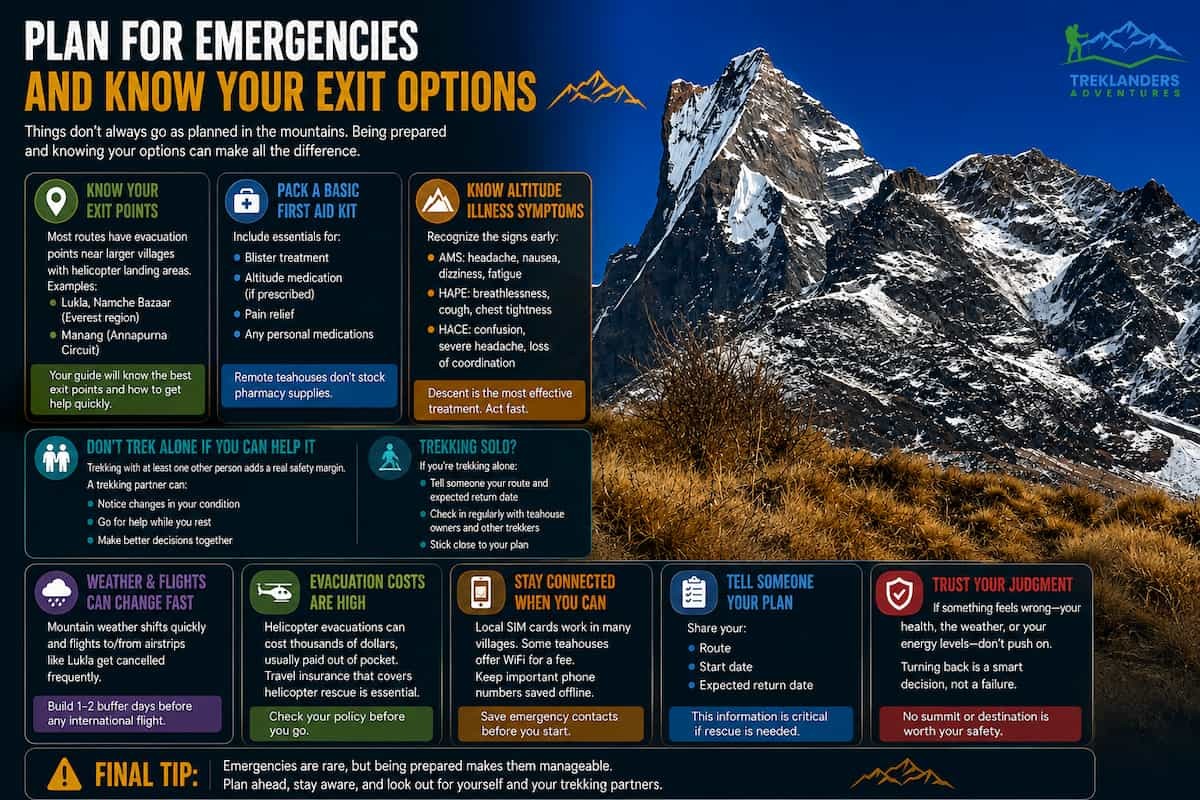
Even a well-prepared trek can run into trouble: injury, altitude sickness, sudden weather, or simple exhaustion that makes continuing unsafe. Know your exit options before you need them, not after.
Most popular routes have designated evacuation points, often near larger villages with helicopter landing areas, like Lukla or Namche Bazaar on the Everest route, or Manang on the Annapurna Circuit. A guide, if you have one, will know these points and how to coordinate an evacuation if it comes to that.
Carry a basic first aid kit with blister treatment, altitude medication if prescribed, and any personal medications you rely on regularly. Teahouses in remote areas don't stock pharmacy supplies, and the nearest clinic might be a day's walk or more.
Learn to recognize AMS, HAPE, and HACE symptoms in yourself and your trekking companions before you go, not while someone is already showing signs. Descent is the most reliable treatment for altitude illness, and the decision to descend needs to happen fast, before symptoms progress from uncomfortable to dangerous.
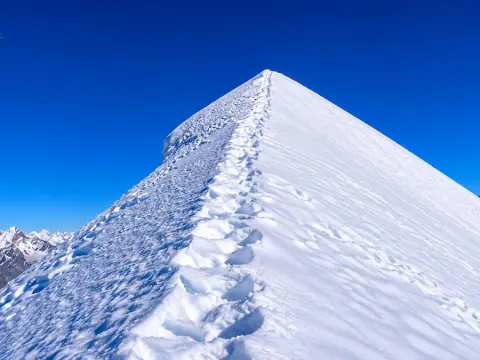
If you're trekking without a guide, tell someone your planned route and expected return date, and stick close to that plan. Search and rescue teams in remote areas rely heavily on knowing where a trekker was supposed to be and when they were supposed to check back in.
Weather in the Himalayas changes fast, and flights in and out of mountain airstrips like Lukla get cancelled or delayed regularly due to cloud cover and wind. Build a buffer day or two into your itinerary before any international flight home, since getting stuck at altitude for an extra day or two because of weather is common, not rare.
Trekking with at least one other person adds a real safety margin over trekking completely alone, even on routes where solo trekking is still allowed. A second person notices changes in your condition that you might miss or dismiss yourself, and can go for help while you rest if something goes wrong on a stretch without regular teahouse spacing. If you're trekking solo by choice, stay especially disciplined about checking in with teahouse owners and other trekkers along the way, since they become your informal safety net in the absence of a formal one.
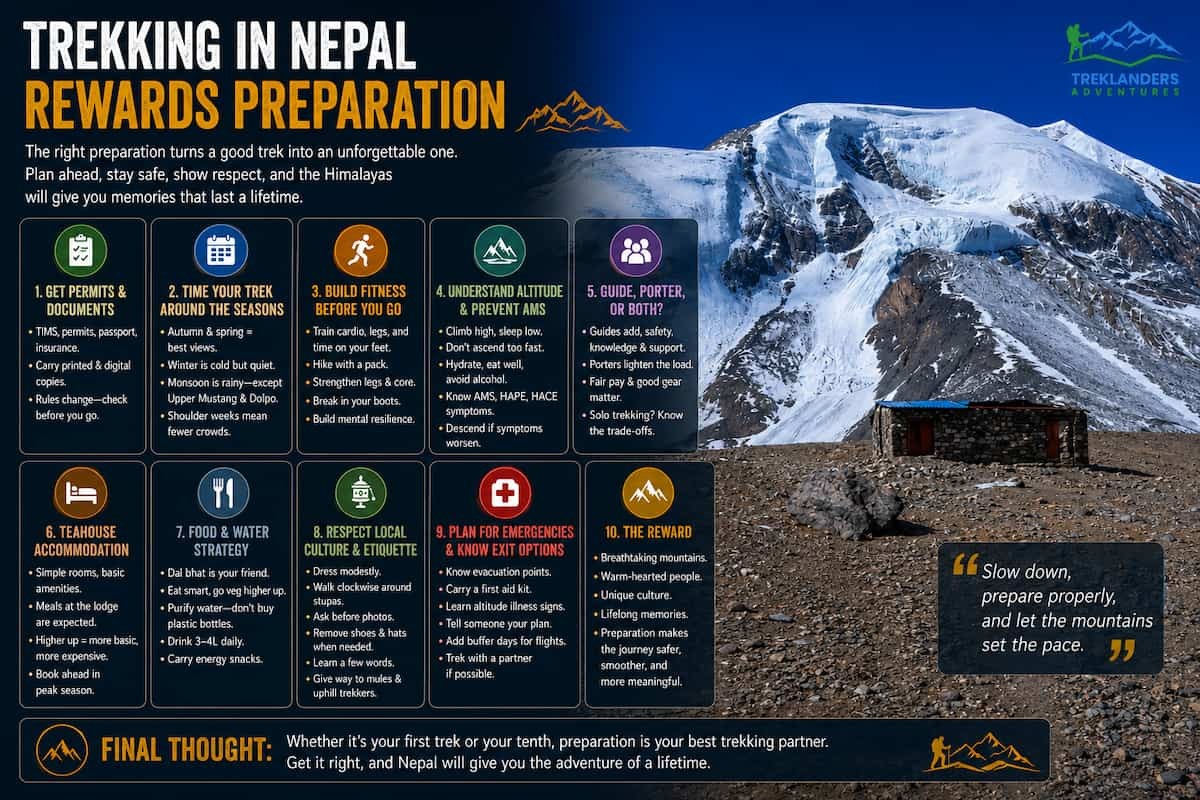
None of this is meant to make Nepal trekking sound intimidating. Hundreds of thousands of people walk these trails every year and come home with some of the best experiences of their lives. The mountains, the villages, the food, and the people you meet along the way make the effort worth it many times over.
What separates a great trek from a miserable one usually comes down to preparation done well before you ever set foot on the trail: the right route for your fitness level, the right gear for the season, a real understanding of altitude, and basic respect for the culture and environment you're walking through. Get those pieces right, and the trail does the rest.
Whether you're planning your first teahouse trek to Poon Hill or working toward a high pass on the Everest Three Passes route, the same principle holds. Slow down, prepare properly, and let the mountains set the pace.
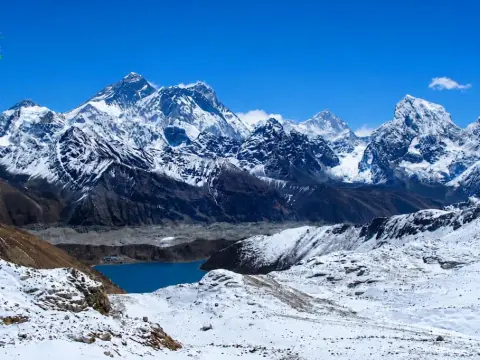
Find the perfect Nepal trek with this difficulty guide, from easy hikes to extreme Himalayan expeditions.
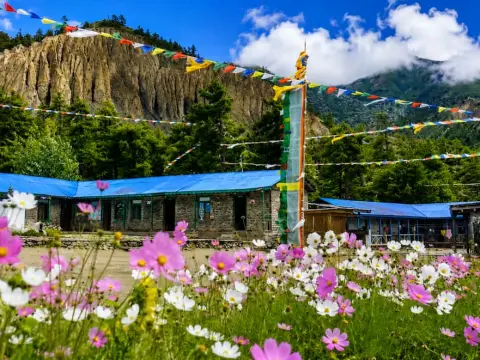
Discover the best rain-shadow treks in Nepal for a dry and scenic monsoon adventure.
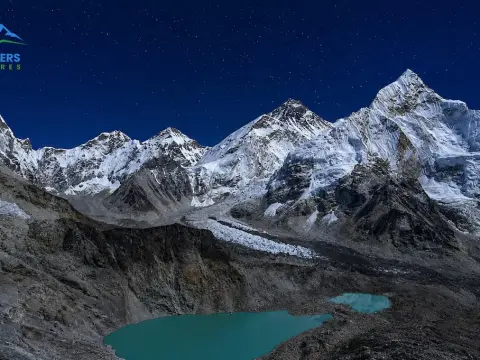
Discover why autumn is Nepal's best trekking season, with clear mountain views, stable weather, safer trails, and unforgettable Himalayan adventures.



